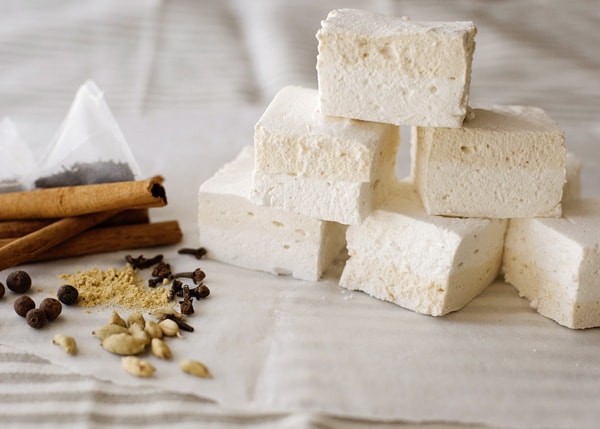
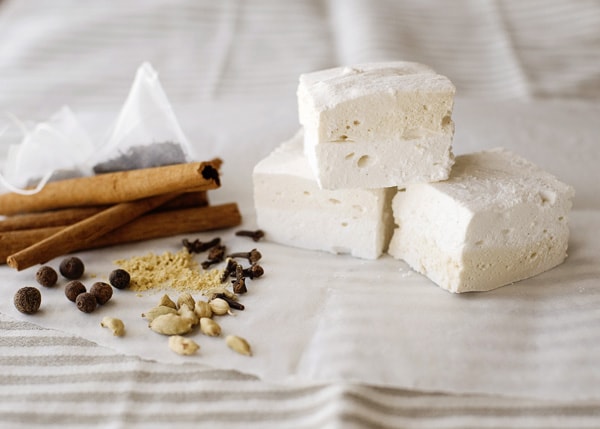
If you’re a fan of the popular drink, you’ll love these homemade Chai Latte Marshmallows—sweet, spicy, and creamy!
A few months ago, Eric from Quirk Books asked me if I would like to be a part of a Marshmallow Madness contest hosted by Serious Eats. Chai latte, marshmallows, and some healthy competition? I am so there. The idea was to take the classic vanilla marshmallow from Shauna Sever’s book, Marshmallow Madness, and do a bracket similar to March Madness. (Marsh Madness, get it? Get it?) I had to take the basic recipe and morph it into something entirely different. Normally, I am great at this kind of thing. This time, I scratched my head for a bit.
Once I got going, it was easy to come up with new flavors. I ended up choosing the chai latte marshmallows because it’s my favorite drink. They turned out better than I could have imagined. Sweet, spicy, and creamy. If you like the drink, you will love these.
This recipe has a lot going on because of the two layers. But all you really need to do is change out the ingredients for the second layer—the steps are nearly the same. Don’t worry, I’ve got it all spelled out for you in the instructions. Just remember, for a recipe like this, it’s crucial to have everything ready before you start cooking. Gather all your tools and prep your pan. Oh, and make sure your thermometer is accurate as well. All it takes is a minor temp fluctuation for these fluffy marshmallows to turn into a gelatinous mess! A few degrees can make all of the difference.
What is gelatin anyway?
Simply put, gelatin is an animal protein that comes from collagen. If you don’t use animal-based food products, don’t worry—there are plenty of vegan substitutes! Keep in mind, these substitutes are not always a one-to-one swap. They may require different measurements, especially if you’re using something like agar-agar. That said, these days you can find vegan substitutes online if not in stores.
Vegan or not, you’ll need a binder for these marshmallows. It’s what holds everything together and gives the fluffy texture we all love. Most importantly, it keeps all that sugar syrup from turning into a sticky goo.

How do I store leftovers?
Once they’re cut and coated, store your marshmallows in an airtight container at room temperature. While they’ll keep for about a week, their texture definitely changes over time. They taste best within the first couple of days.
Serving suggestions
These beauties are made for steamy hot drinks. While a mug of Rich And Creamy Hot Chocolate is a great choice, it’s equally delicious in a Copycat Starbucks Vanilla Spice Latte. But my favorite way to enjoy chai latte marshmallows is in s’mores—they work well in this S’mores Cookies Recipe, too. Heck, I’ll even cut the marshmallows into little pieces and mix them into some homemade Vanilla Bean Ice Cream!
Chai Latte Marshmallows
Ingredients
For The Chai Tea:
- 3 black tea bags
- 3 cinnamon sticks
- 2 cardamom pods
- 3 whole cloves
- 3 allspice berries
- 1/2 teaspoon ground ginger or a 1-inch piece of fresh ginger
- 1 cup boiling water
For The Classic Coating:
- 1 1/2 cups powdered sugar
- 1 cup cornstarch
- 2 teaspoons ground cinnamon whisk into part of the coating for dusting
For The Vanilla Layer:
- 4 1/2 teaspoons unflavored powdered gelatin
- 1/2 cup cold water
- 3/4 cup granulated sugar
- 1/2 cup light corn syrup, divided 1/4 cup for the saucepan, 1/4 cup for the mixer
- 1/4 cup water
- Pinch of sea salt
For The Chai Layer:
- 4 1/2 teaspoons unflavored powdered gelatin
- 1/2 cup chai tea mixture from above
- 3/4 cup granulated sugar
- 6 tablespoons light corn syrup, divided 3 tablespoons for the syrup, 3 tablespoons for the mixer
- 2 tablespoons honey
- 1 vanilla pod seeded and scraped
- 1/4 cup water
- Pinch of sea salt
Instructions
- Generously coat a 9×13-inch pan with cooking spray. Use a paper towel to wipe away the excess, and make sure it's evenly distributed over the pan's surface.
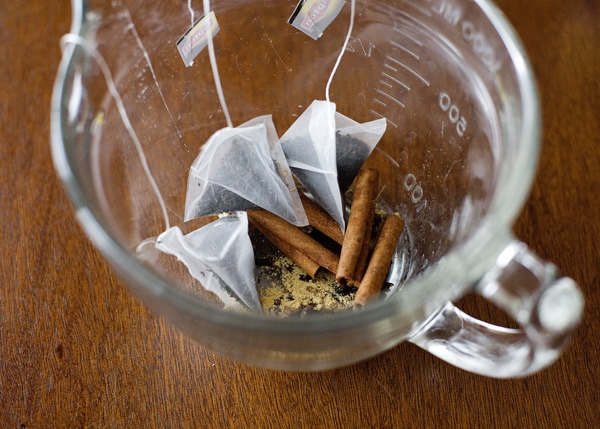
To Make The Chai Tea:
- In a heat-safe measuring cup or bowl, combine the tea bags, cinnamon sticks, cardamom pods, allspice berries, cloves, and ginger. Pour 1 cup boiling water over everything and steep for 30 minutes. After that, measure 1/2 cup of the tea mixture for the chai layer.
To Make The Classic Coating:
- Whisk the powdered sugar and cornstarch together. Set aside. Then, in a small bowl, whisk the cinnamon into 1/2 cup of the classic coating for dusting.
To Make The Vanilla Layer:
- Sprinkle the gelatin over the cold water. Let it sit for at least 5 minutes.
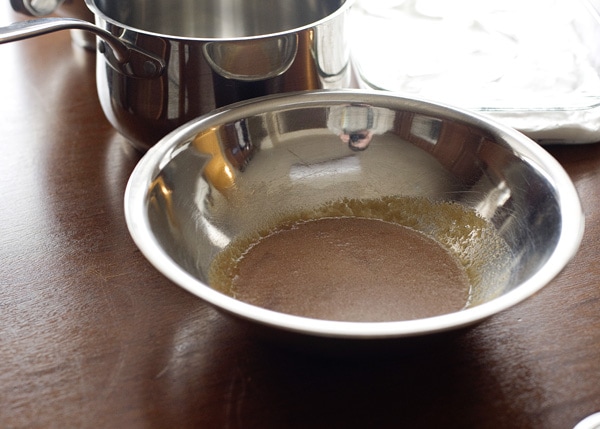
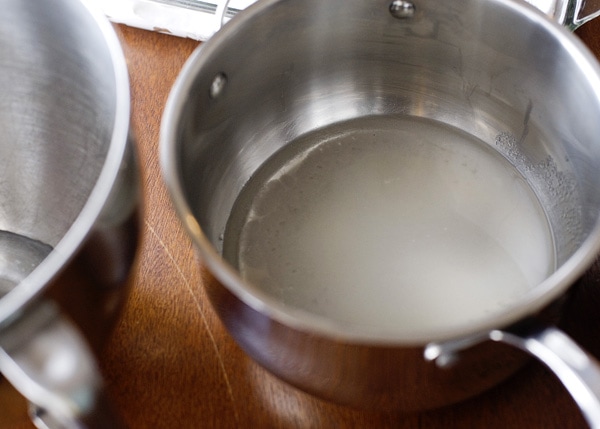
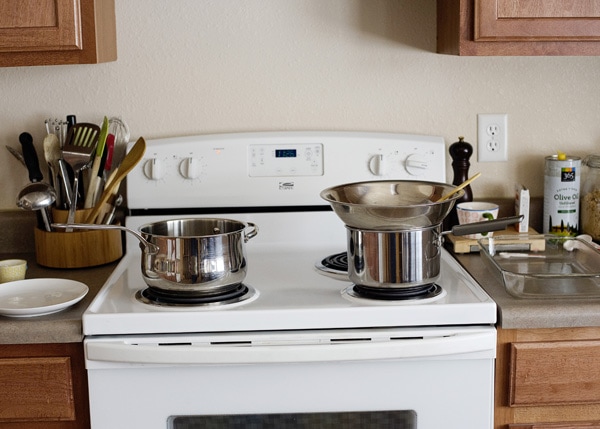
- In a medium saucepan, stir together the sugar, 1/4 cup corn syrup, water, and salt. Cook over high heat, stirring occasionally, until the syrup reaches 240°F.
- Add the remaining 1/4 cup of corn syrup to the bowl of a stand mixer.
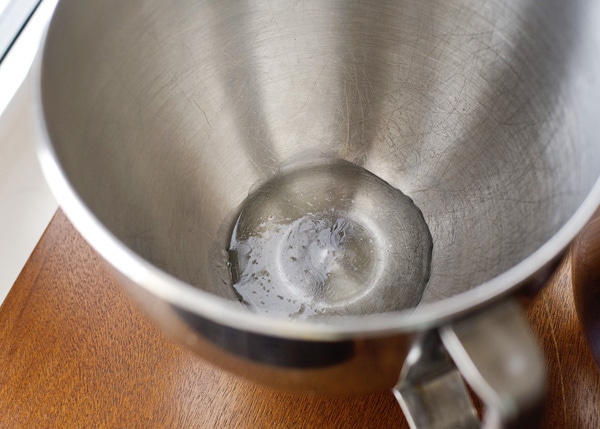
- Melt the bloomed gelatin (in a double boiler or in the microwave for 30 seconds) until it's fully liquid, with no granules. Pour into the mixer bowl and mix on low with the whisk attachment.
- Slowly pour in the syrup once it has reached 240°F. Increase the speed to medium and beat for 5 minutes. Then, increase to medium-high and beat for another 5 minutes. Beat on the highest setting for 1 to 2 minutes more.
- The mixture will be fluffy, and have tripled in volume.

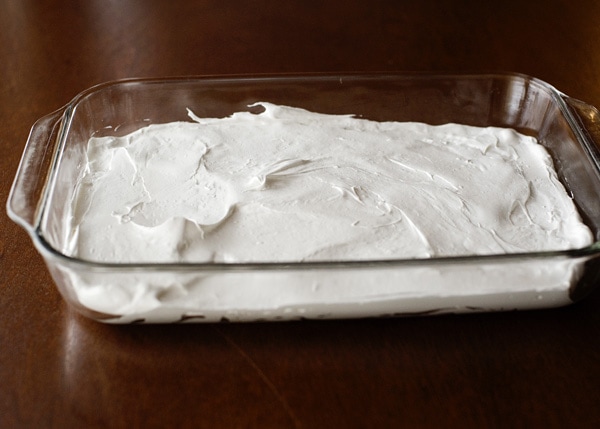
- Spread the vanilla layer into your prepared pan, making sure it's evenly distributed.
To Make The Chai Layer:
- Sprinkle the gelatin over the 1/2 cup of cooled chai tea. Let it sit for at least 5 minutes.
- In a medium saucepan, stir the sugar, 3 tablespoons corn syrup, honey, vanilla seeds, water, and salt. Cook until the syrup reaches 240°F.
- Add the remaining 3 tablespoons of corn syrup to the mixer bowl.
- Melt the bloomed chai gelatin until it's fully liquid, then pour it into the mixer bowl and mix on low. Slowly pour in the 240°F syrup. Beat using the same timing as the vanilla layer (medium 5 minutes, medium-high 5 minutes, high 1 to 2 minutes).
- Spread the chai layer over the vanilla layer. Using an offset spatula coated with cooking spray makes spreading easier. Sift the cinnamon coating over the top. Let them sit for 6 hours in a cool, dry place (overnight also works).
- Take the marshmallows out of the pan and cut them into whatever shape you like.
Leave a Comment