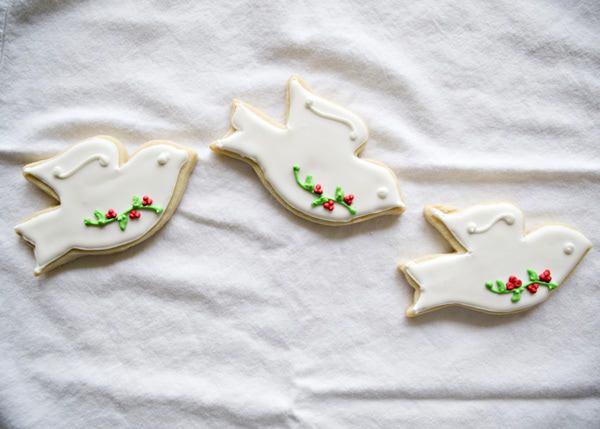
These gorgeous Christmas Dove Royal Icing Cookies are a perfectly delicious way to celebrate the holiday season.

Christmas is here, and that means it’s cookie season. There’s something special about baking during the holidays. Like, if I were to bake a batch of sugar cookies in the summer, they would just hit different. Maybe it’s the music, the snow, the pageants, family, or all of the above. For some glorious reason, Christmas cookies taste better to me.
Sugar cookies are probably my favorite for this time of year, mainly because I can decorate them in all sorts of ways, from snowmen to doves. Of course, no sugar cookie is complete without a tasty icing.
For the longest time, I couldn’t understand how people’s royal icing cookies always turned out so pretty while mine looked like a three-year-old made them. Year after year, I’d attempt to make pretty frosted cookies, and every year I’d toss my ugly batch in the trash. But then the world of royal icing cookies opened up for me. I found some really good tutorials and learned some very valuable lessons.
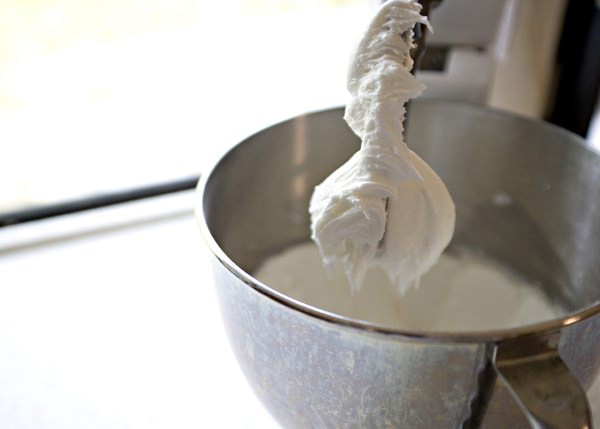
What is royal icing, you may ask? It’s essentially an icing that uses egg whites or meringue powder, which is what I use. Coupled with powdered sugar and water, the icing turns hard and smooth, perfect for decorating cookies.
I recommend you use my Snowman Sugar Cookies as the base for this recipe. It’s the best sugar cookie recipe I’ve found and the only one I’ve used over the past 10 years. Paired with royal icing, your friends and family may start wondering if you bought these from your local bakery!
What I like about royal icing
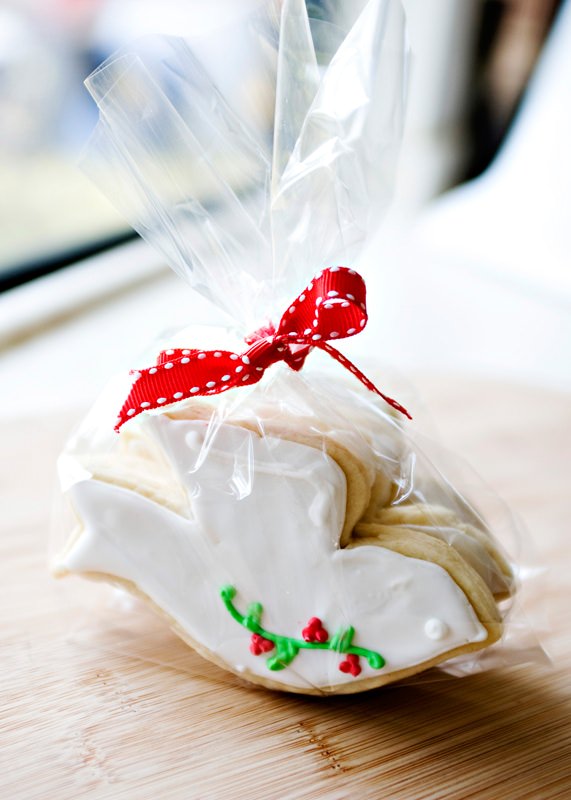
I’m a sucker for Frosted Sugar Cookies. The thing is, frosted sugar cookies don’t make the prettiest gifts. You see, I like to wrap my dove cookies individually and stuff them in stockings or give them away at Christmas parties.
These dove cookies call for royal icing. And unlike frosting, royal icing turns hard, though not right away. You still use your trusty piping bag. Only since royal icing hardens so well, there’s no worry about your finely decorated cookies smearing. Whether piled high in your cookie jar or wrapped as a gift, they’re still going to look great!
How do I store leftovers?
After the icing is completely dry, store the cookies in an airtight container at room temp for up to 5 days. They shouldn’t stick, but just to be safe, layer them between parchment or wax paper.
These cookies also freeze really well. Use parchment or wax paper between the layers and then store them in a freezer bag or airtight container. Freeze for up to 2 months.
Serving suggestions
Christmas dove cookies make for delicious gifts, especially when tucked in a cellophane bag wrapped in festive ribbon. Or serve them as part of a cookie platter with a variety of Christmas Cookies. Personally, I’d go with Chocolate Kiss Cookies for a chocolatey contrast, and maybe some Gingerbread Cookies, too. And you can always just pour yourself a mug of Rich And Creamy Hot Chocolate, put on a Christmas movie, and call it a night.

Christmas Dove Royal Icing Cookies
Ingredients
For The Sugar Cookies:
- 8 dove-shaped sugar cookies baked and cooled to room temperature
For The Royal Icing:
- 4 cups powdered sugar sifted
- 2 tablespoons meringue powder
- 5-7 tablespoons of water plus more, as needed
- Green gel food coloring for holly leaves
- Red gel food coloring for berries
Instructions
- Use this sugar cookie recipe to make your dove-shaped cookies.
- To make the royal icing, sift together powdered sugar and meringue powder into the bowl of a stand mixer, then add 5 tablespoons of water.
- Use the paddle and mix on medium for about 7 to 10 minutes or until the icing is thick and smooth. This thicker icing will be used to outline the cookies.
- If the icing seems too stiff to pipe, add a few drops of water. Stir after each drop. Royal icing gets thin quickly, so start small. Keep this up until the icing is thick and pipeable.
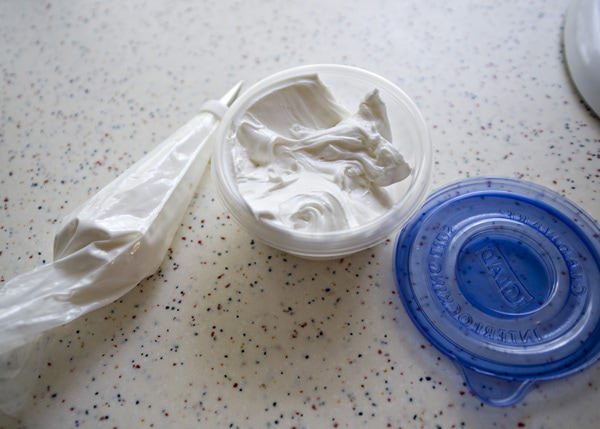
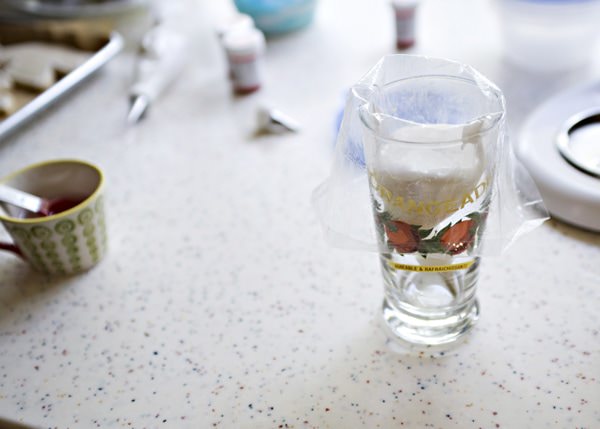
- Put approximately 1/4 of the thick royal icing in a piping bag fitted with a small round tip. Cover the remaining icing in an airtight container, so it doesn't dry out—you'll use this later
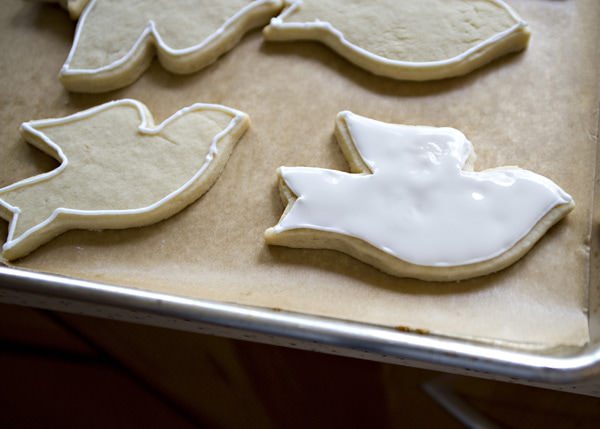
- Outline the cookies with some of the thick icing. Let it dry completely (about 2 hours) before you go to the next step. Save the rest of this thick icing for later.
- Add a few drops of water at a time to the remaining icing stored in the airtight container. Stir after each drop until the icing is thin enough to slowly run off the spoon. Let the icing set for a few minutes to let the air bubbles pop.
- Transfer the thinned icing to a piping bag.
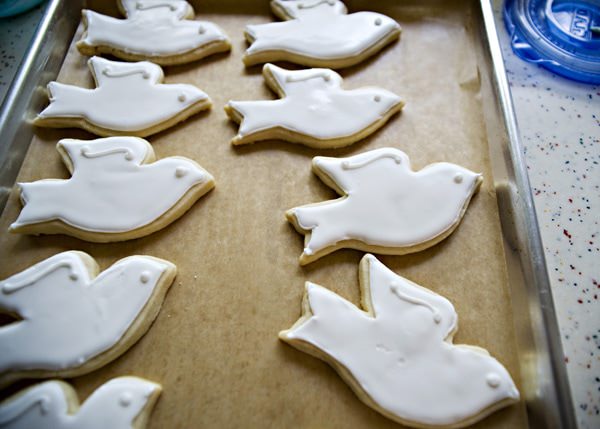
- Fill in the outlined area of each cookie, and then use the tip to gently push the icing to the edges until evenly covered. Add more icing as needed to fully cover each cookie. Let the cookies set until the surface is dry (about 3 hours).
- Using the thick icing again, add the eyes and the wing details.
- Tint a small amount of the thick icing green with the gel food coloring and another small amount red. Place each color in its own piping bag. Use a small round tip for precision—I use Ateco #2.
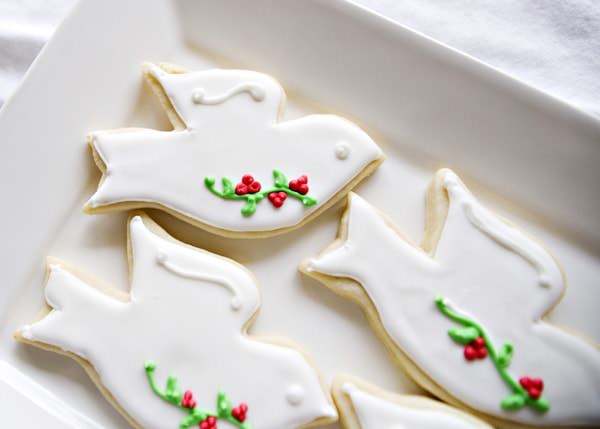
- Use the green icing to pipe stems and leaves on the doves. Use the red icing for the berries. Take your time.
- Let the cookies dry at room temperature overnight (8 hours) before packaging or stacking. Even if they look dry after a couple of hours, the icing can still be soft underneath. Patience is key!

Leave a Comment