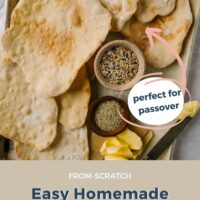
You’ll love this Easy Homemade Matzo, a simple from-scratch matzah cracker recipe that’s perfect for Passover. Flour and water combine to make a crispy and golden, unleavened baked bread that’s ready in only 18 minutes, according to classic kosher tradition!
You can naturally also use this recipe to make Matzah meal (Matzo meal) see below.
What Is Matzo or Passover Bread? //
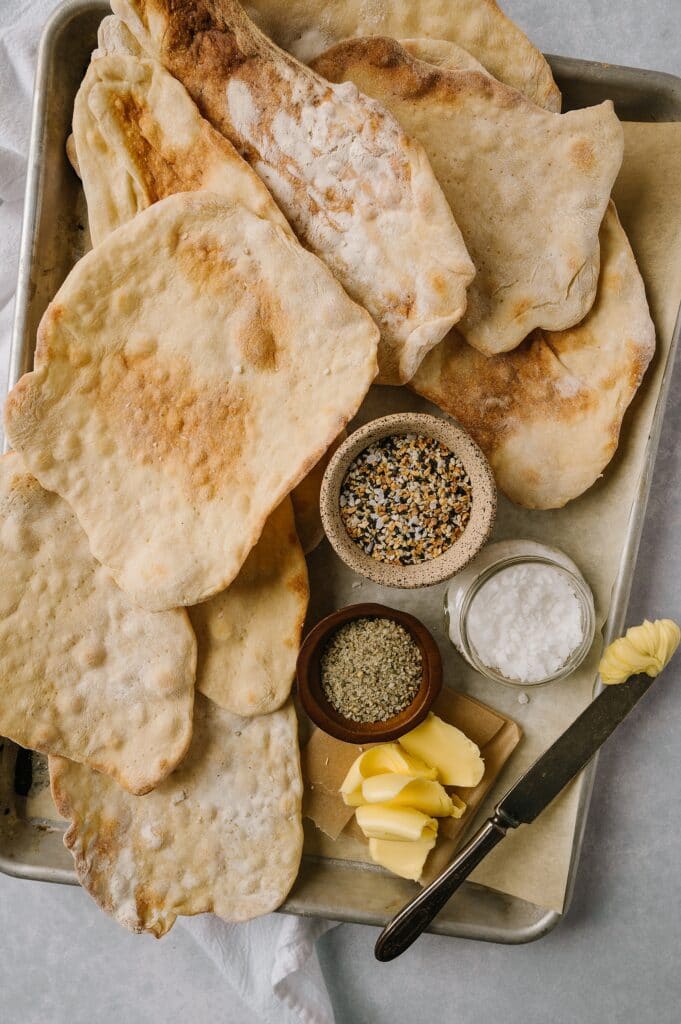
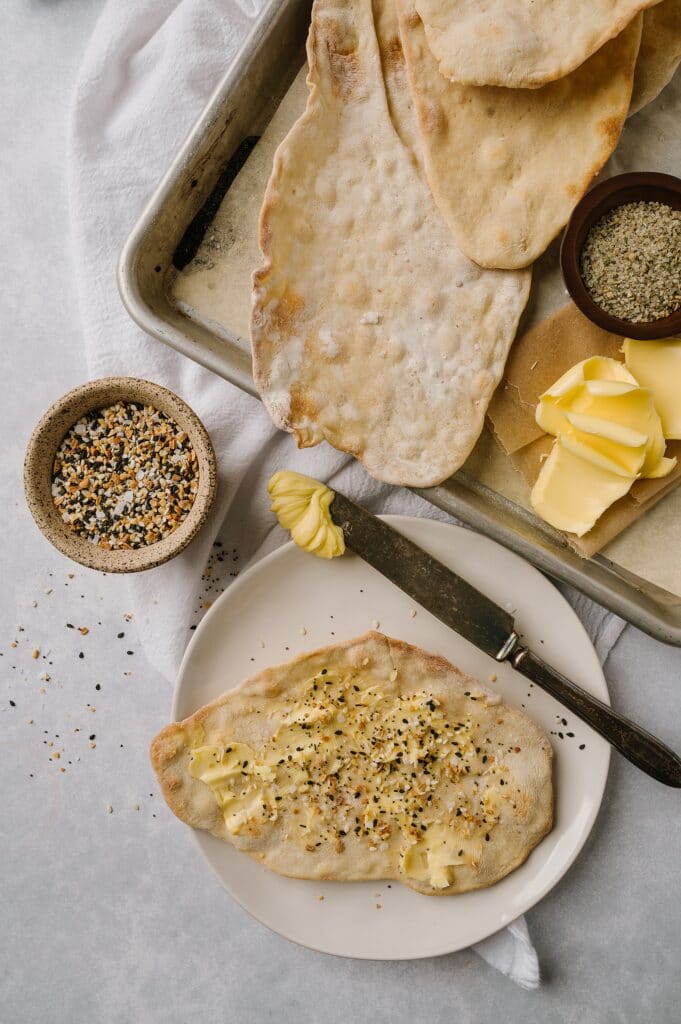
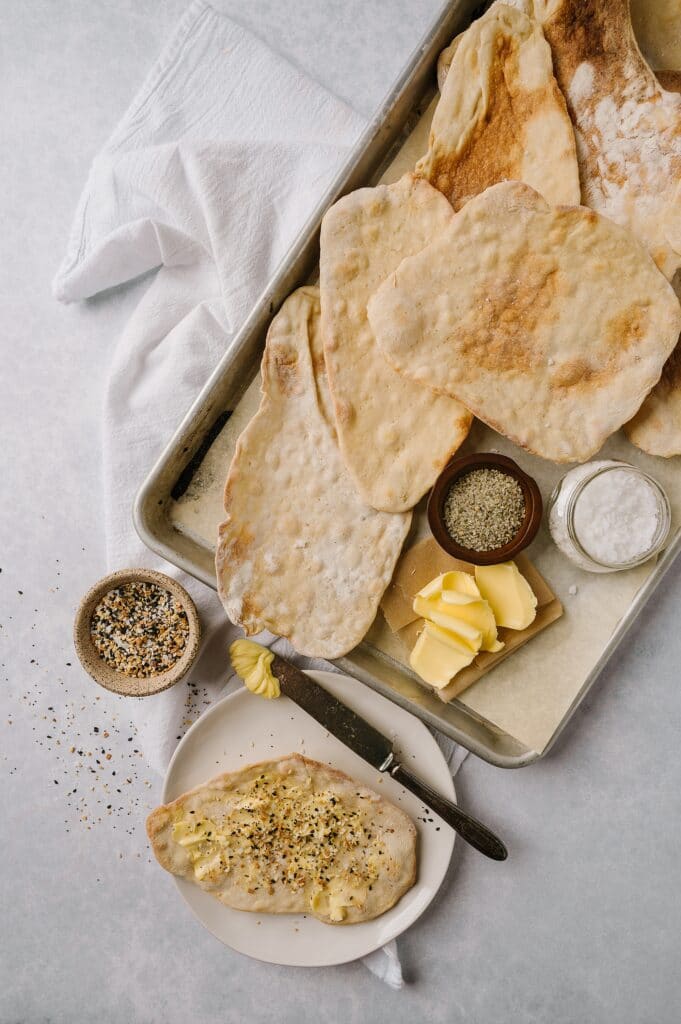
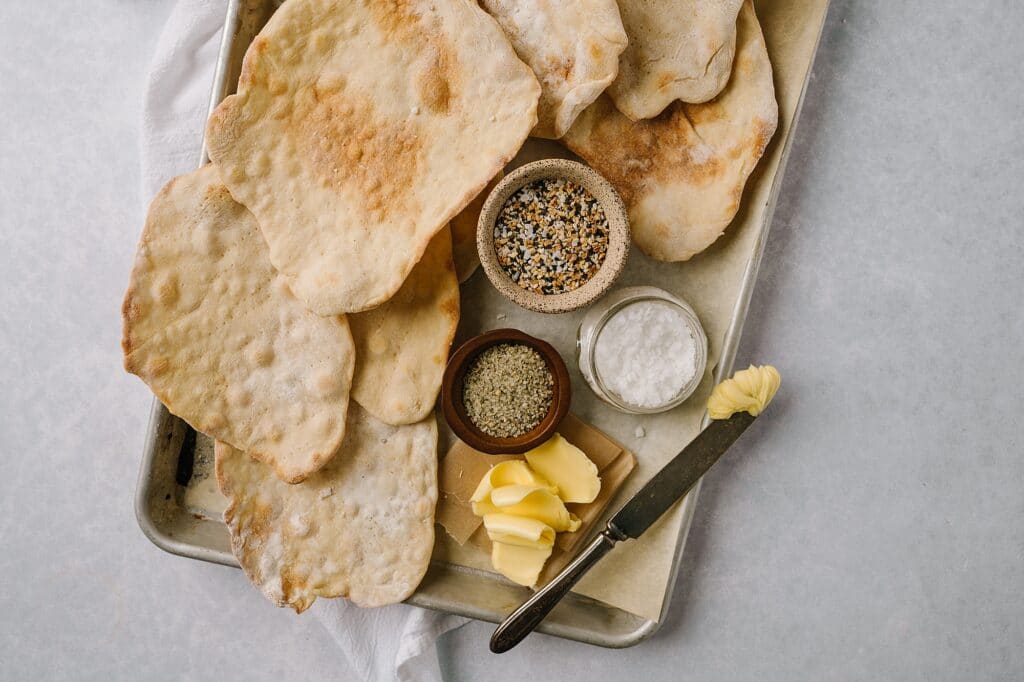
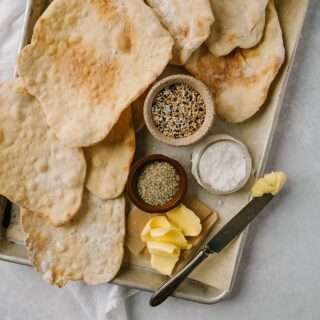
Matzo, sometimes referred to as matzah, matzoh or matza, is a thin unleavened bread made from flour and water that’s traditionally eaten during Passover. Its texture and taste are similar to a thick crispy cracker and usually topped with salt and a schmear of butter. Most Jewish families nowadays typically buy matzo packaged — but it’s so easy to make from scratch at home.
Tradition dictates that matzo be made fast, within 18 minutes from the moment you mix the flour and water until when you take the last batch of matzo bread out of the oven. It’s a hectic 18 minutes, but it is possible. Let me show you how!

Why You Will Love These Jewish Crackers //
- This traditional matzo recipe has only 2 ingredients! Only flour and water (and a little heat) are needed to make this classic unleavened bread.
- Make it kosher (or not): I lay out how to make matzo in only 18 minutes, according to kosher standards. Make it fast and traditional, or take your time if kosher isn’t a concern.
- It’s a crispy, crunchy cross between a cracker and a flatbread. Matzo is the perfect combination of a big cracker and a piece of crunchy flatbread.
- Eat it alone or be creative! This matzo recipe can be eaten as a crunchy side, used as a toast replacement with toppings, or even used as a crunchy sandwich bread.
Ingredients
- Flour: Traditional wheat flour used in matzo must be grown according to kosher standards and unleavened; however, if you are not concerned about this matzo being kosher then regular all-purpose flour will work as well. Whole wheat flour could also be used, but would not be kosher unless it’s certified.
- Water: Regular tap water at room temperature works best for this recipe. While there is some debate on some bottled water brands being certified kosher, most any bottled water will work as well.

Traditional Matzo Kosher Rules //
There are some seriously strict rules about food ingredients and food preparation during Passover, and making matzo traditionally kosher means abiding by the following rules:
- The 18-Minute rule: To keep this matzo kosher, you need to finish the entire process in 18 minutes flat. Those 18 minutes start when the water hits the flour until all of the matzo comes out of the oven (I was very grateful for my double ovens when I made these).
- The flour rule: The other thing that can be an issue is the flour that you use. The flour that I used in this recipe is a certified kosher all-purpose white flour. Regular all-purpose flour can be used, but know that it may not be 100% kosher.

How To – The Steps
Step 1: Preheat your oven to 475 F degrees and gather your tools and ingredients so they are ready to go once the clock starts ticking. Measure out the flour and water, line at least two baking sheets with parchment paper, and gather a rolling pin, pastry brush, a dinner fork, and a dough scraper or butter knife for cutting.

Step 2: Set your timer for 18 minutes; let the matzo-making begin!

Step 3: Mix together 2 cups of flour with 1 cup of water.

Step 4: Knead the dough on a well-floured board or countertop until it comes together. This typically takes about 3-4 minutes. If the dough is sticky, add a tablespoon of flour at a time until the dough is soft but not wet.

Step 5: Cut the dough into 8-12 chunks by using a dough scraper or butter knife. Do this by first cutting the dough into quarters, then cutting each quarter into thirds. You want each piece of dough to be about the size of an egg.

Step 6: Roll each small piece of dough as thinly as possible with a rolling pin. Generously flour the dough as you roll to ensure it doesn’t stick to your rolling pin. (Or the countertop or cutting board).

Step 7: Carefully place the flattened matzo dough onto the parchment-lined baking sheet. The dough does not expand. Feel free to place them close together to fit as many as you can on the baking sheet. Brush off any excess flour and use the fork to prick the top of the dough.
Step 8: Place the baking sheet in the oven and bake for 3-4 minutes until they are brown and crispy.
Step 9: While the first matzo batch is baking, quickly roll out the next batch and prep it to go into the oven. When the first batch is ready then you can put the next batch in. When the first batch is done, remove the finished matzo to a plate to cool and place your next batch on the already-used baking sheet (or use three baking sheets to allow one to cool). Continue prepping and baking until the entire dough batch is cooked. The clock is ticking!
Serve: When the last batch is done, the matzo is ready to serve or store. And pat yourself on the back for a hectic 18 minutes!
Recipe Tips For Getting Perfect Passover Matzo //
- Find your favorite flour. While a certified kosher all-purpose flour is traditional, feel free to test this recipe with different flours. Whole wheat flour or gluten-free flours like spelt, chickpea, or almond flours can also work well. (Be mindful if you’re following kosher standards).
- Use room-temperature water. While cold or warm water will work, I’ve found the best matzo texture using room-temperature tap water. I fill a measuring pitcher with water 20 minutes before baking. That way it’s had time to adjust to room temperature before I mix it with the flour.
- Flour is your friend when kneading. Is your matzo dough too sticky? Add more flour. Is your dough sticking to your counter or rolling pin? Add more flour. Don’t be afraid of flour, but make sure the dough isn’t too dry before baking.
- Keep an eye on the oven. Because matzo cooks up quickly, keep your eye on the oven or it will easily become too brown and overcooked.
- Use 2-3 baking sheets. If you’re making matzo according to the 18-minute kosher rule, having 2 extra baking sheets will speed up the process. Have one in the oven, one prepped, and one backup. You can let one sheet cool when you remove it from the oven. (Let’s make our matzo burn- and injury-free!).
Storing & Freezing //
- Storing: Store leftover matzo in an airtight storage container on the countertop for up to three days or up to four days in the refrigerator.
- Freezing: For the best taste and texture, I do not recommend freezing matzo bread after it has been baked. You can prep the matzo dough ahead of time and store it in the refrigerator for up to two days or in the freezer for a month or more. Let it thaw before baking. Storing in the refrigerator or freezer will mean this recipe is not kosher. It will not fall in the 18-minute timeframe.
What Is Matzo Meal?
Matzo meal is simply ground matzo. Just break up the matzo in smaller pieces and grind it, preferably using your blender or food processor. You can buy matzo meal, but you will enjoy making it from this homemade recipe.
FAQs
Matzo, matzah, matzoh, and matza. These are all different ways of spelling and pronouncing the name for the traditional unleavened flatbread eaten at Passover in the Jewish tradition.
The kosher rule for making matzo in 18 minutes is because only unleavened bread products are allowed during Passover. Natural fermentation begins within that time frame when flour and water are mixed. To avoid the natural fermentation, and therefore make the bread unleavened, it must finish baking before 18 minutes.
Passover dietary restrictions exclude any grain that can ferment or become leavened, which includes wheat, barley, oats, rye, and spelt. The only bread that is allowed during Passover is matzo. Matzah is typically made from wheat flour and made in a way that ensures it is unleavened.
Matzo is usually served at the center of the table. Either as a side dish or accompaniment with traditional Passover foods like brisket, roast chicken, fish dumplings, and potatoes.
More Homemade Passover Recipes You’ll Love //
Matzo recipe (Matzah recipe)
Ingredients
- 2 cups flour
- 1 cup water
- Salt
Instructions
- Get everything that you need ready before you start. Preheat your oven to 475 degrees. Line your baking sheets with parchment paper. Get a rolling pin, pastry brush, and fork out.
- Set your timer for 18 minutes.
- Mix together 2 cups of flour with 1 cup of water.
- Knead the dough on a well-floured board until it comes together, about 3-4 minutes. If the dough is really sticky add flour a tablespoon at a time until it isn’t anymore.
- Cut the dough into 8-12 chunks. Roll them out as thinly as you can. Make sure that you flour everything really well, this dough is sticky.
- Put the flattened dough onto the parchment-lined baking sheet. Prick with a fork. Brush off some of the excess flour. This dough does not spread so you can put a bunch on a sheet. Put in the preheated oven and start working on the next batch.
- After 3-4 minutes, they will be golden brown and crispy.
Video
Nutrition
Matzo Ball Soup (Matzah Ball Soup)
Salted Toffee Matzah (Matzo Crack)
Passover Brisket (Jewish Brisket)
How much salt do you add?
It is really up to your taste, I personally use around 1 teaspoon of kosher salt and think it tastes perfectly
Will definitely be trying this. Was wondering though, is this recipe also what one would use if making matzah ball soup?
Hi Effie, yes you can use the recipe to make matzo meal. It is so simple. I also have a full recipe for matzah ball soup: https://bakedbree.com/matzo-ball-soup-the-quick-version
Can a baking stone be used in place of baking sheet pans?
Yes, a baking stone can be used as an alternative, it may even give better heat distribution and crispier results. Please let me know I am curious 🙂
My daughter is a religion education teacher. Her class are talking about Passover this week and she will be giving the children examples of food .
I made the matzah and managed to do so within the 18 minutes. Although I think I could have backed a little longer or higher temperature as they are not crisp but more like flat bread.
Very easy to make and now I’ve realised they should be crisp . I’m sure they will be perfect next time.
Great job making matzah for the first time! Just tweak the baking time or temperature next time for a crispier result!
What is the salt for? It was not used in the recipe.
Hi Abbey – The salt mentioned in the recipe is for seasoning the matzo. While it’s not used in the dough itself, you can sprinkle some on top of the matzo before serving or, if desired, after baking. It adds a bit of flavor to the otherwise plain cracker. Feel free to leave it out if you prefer an unsalted version.
Thank you! This is an awesome recipe, and so easy. We also made a thicker one that came out like a stale pita, lol. It was fun and we’re definitely keeping this recipe as a go-to.
Hey Amber! I’m so glad you enjoyed the recipe! That thicker “stale pita” version sounds very interesting! Let us know if you try any variations or toppings 😊