Better and healthier than the grocery store version, you don’t even have to leave the house to get this perfect chicken and look like a superstar.

We all love a juicy, tender rotisserie chicken. Inexpensive and convenient, it’s an easy grab-n-go item from the hot table from most grocery stores.
The trouble with store-bought rotisserie chickens is that we can never be sure of all the ingredients – they are often seasoned with sugars, modified starches, gums and other less-than-healthy ingredients… one popular store brand that sells 150 million chickens per year had 10 different additives we counted. Not to mention the high amount of sodium that most of them have. They’re also stored in hot plastic on the shelf, and some health experts are concerned that these plastics “gas off” under the heat lamps, putting unwanted chemicals into our food.
We’ve always advocated home-cooked over store-bought, and we’re happy to bring you this recipe that reproduces that irresistible rotisserie taste without all those unwanted ingredients… and without needing a rotisserie, either! Though if you have one on your barbecue this recipe works great on that, too.
Rotisserie Flavor Without a Rotisserie!
This chicken turns out tender and juicy every time for a number of reasons. The olive oil makes the skin crispy and the meat moist. The seasoning is simple and perfect. And this chicken is cooked for a shorter time at a higher temperature.
All those things come together to make the perfect rotisserie chicken at home. It also makes your kitchen smell incredible – you might find that members of the family keep asking “when’s dinner ready?” when you have this chicken in the oven.
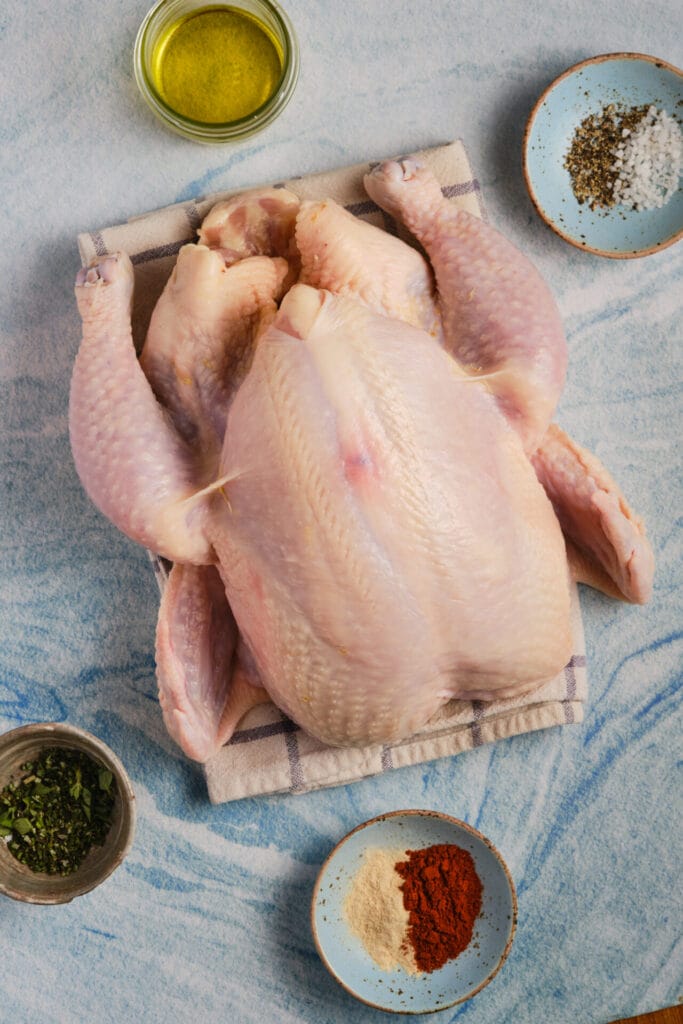
Ingredients
- 2 teaspoons paprika
- 1 1/2 teaspoons dried thyme
- 1 teaspoon garlic powder
- 1 teaspoon onion powder
- Salt and freshly ground black pepper to taste
- 1 whole chicken 4 to 5 pounds
- 2 tablespoons olive oil
How to Make Homemade Rotisserie Chicken
Step 1: Preheat your oven to 425°F. This high heat will help to crisp the skin and lock in the flavors.
Step 2: In a small bowl, combine the paprika, dried thyme, garlic powder, onion powder, salt, and pepper. This blend will give your chicken that classic rotisserie taste.

Step 3: Remove any giblets from the chicken cavity and pat the chicken dry with paper towels. Dry skin ensures better spice adhesion and crispier results.

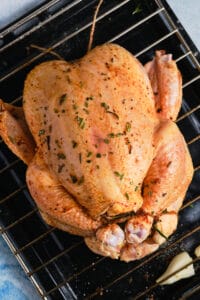
Step 4: Rub the chicken all over with olive oil, then massage the spice mixture onto the skin, covering it evenly. Don’t forget to season the inside cavity for an all-around flavor.
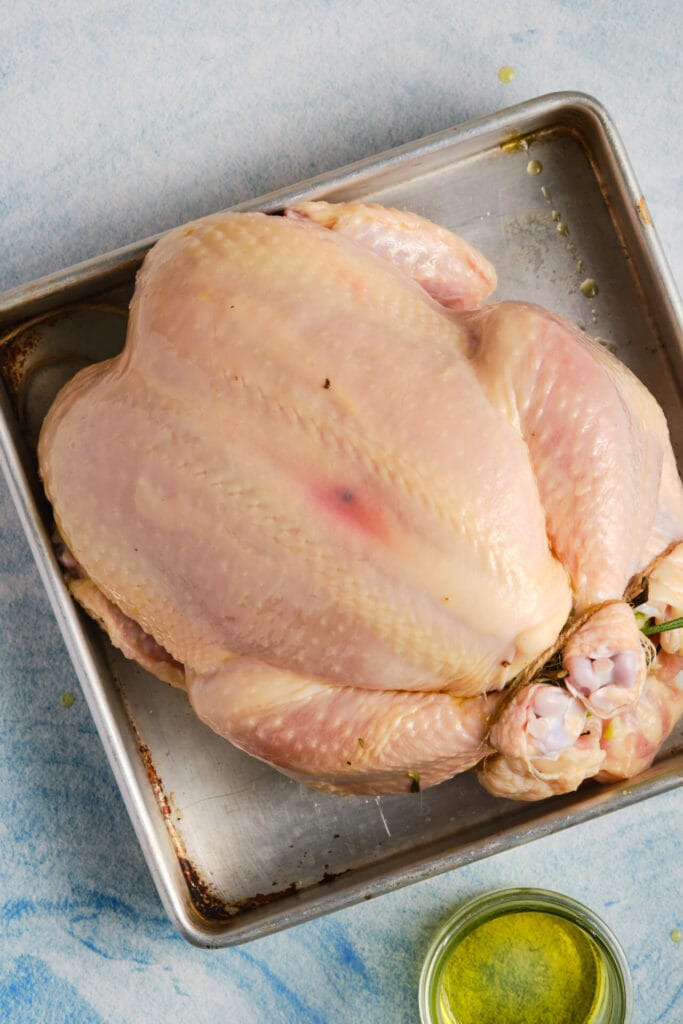
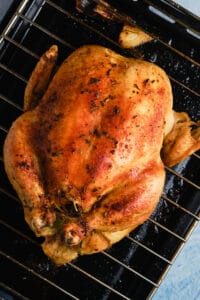
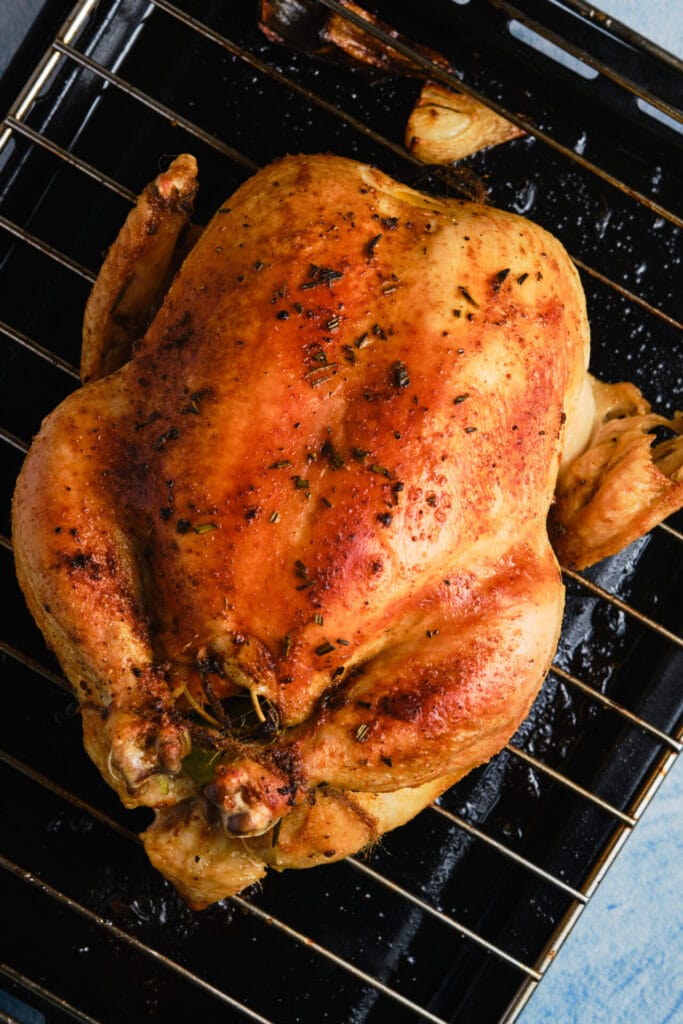
Step 5: Place the chicken breast-side up in a roasting pan and put it in the preheated oven. Roast for about 70 minutes or until the internal temperature reaches 165°F (74°C) and the juices run clear.

Step 6: Once cooked, let the chicken rest for 10 minutes before carving. This allows the juices to redistribute, ensuring a moist and flavorful chicken.
FAQs & Tips
The seasoned chicken can be stored in the fridge for up to a day before it goes in the oven. Bring the chicken to room temperature before putting it in the oven, or expect to add a few extra minutes of cook time if it’s cold.
Cooked chicken can be stored in the fridge for three days. We prefer to remove the meat from the bones before storing the chicken, and we use the carcass to make the best home-made chicken stock – simply boil with some chopped onion, celery and carrot. Pro tip: Don’t peel the onion, the skin will give your stock a beautiful deep colour.
Leftover chicken freezes well for up to a month. Store it in a zip top bag.
You don’t have to. We think the chicken presents better tied, and it prevents the thinner part of the drumsticks over cooking. Dark meat is pretty forgiving though, and you’ll get great results either way.
The best and safest method is to use a meat thermometer. It should register 165F when inserted into the thickest part of the thigh. Make sure your thermometer is not touching the bone as that will throw off your reading.
Just for a few minutes. Once the chicken is done, tent it in foil and let it rest on the counter for ten minutes or so. The meat will reabsorb all those juices to give you better tasting chicken and a less messy cutting board!

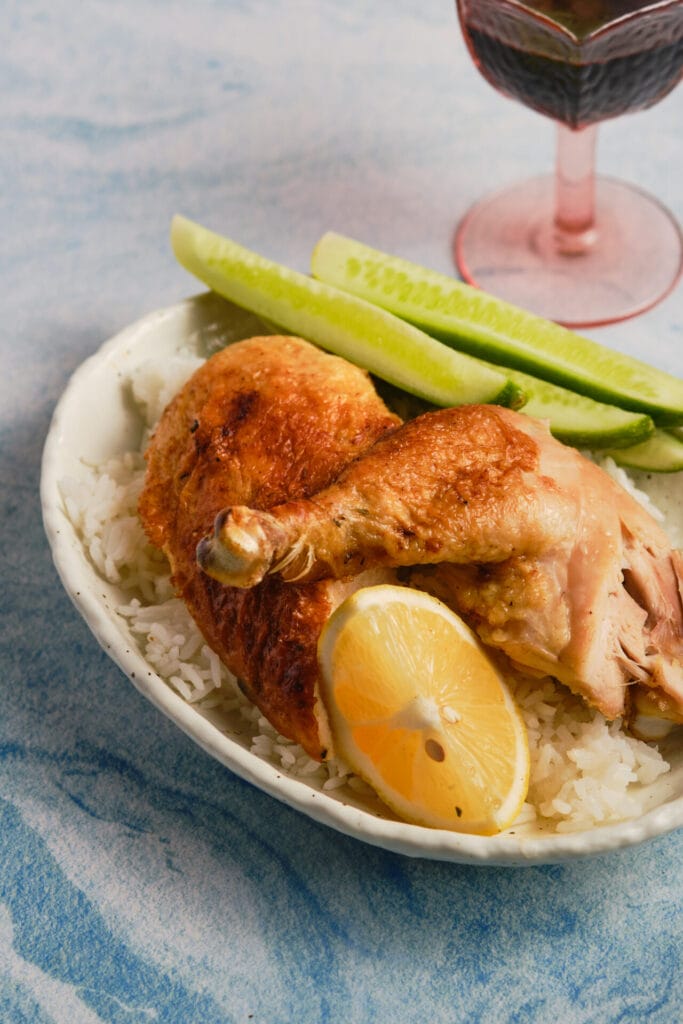
Serving Suggestions
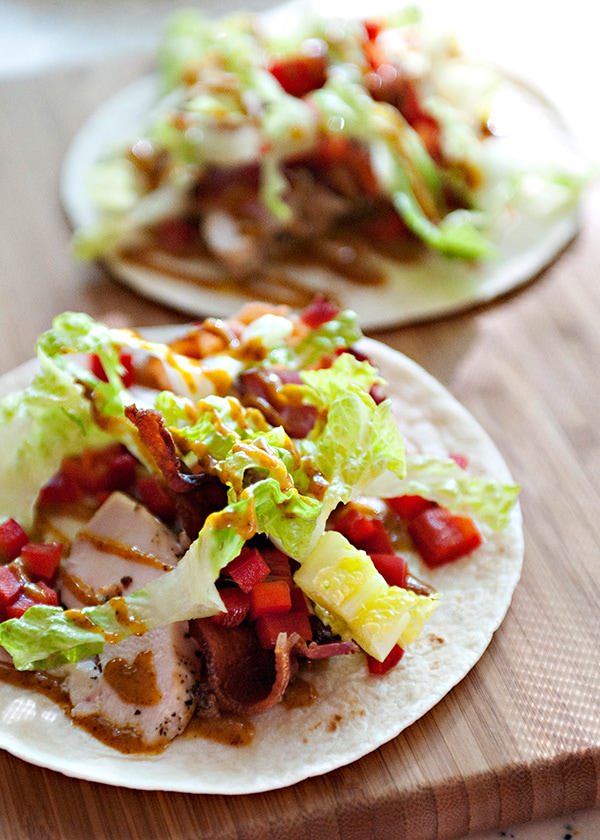
To paraphrase the famous poem, “How do I love thee, let me count the ways!” We love this chicken with a big salad and crusty loaf of bread, but it also works really well as a traditional roast dinner with potatoes and vegetables. Perhaps our favorite way to eat it is as leftovers the next day… on a salad, for a picnic, on a sandwich, in a soup or pulled on tacos… the possibilities are endless. Maybe just make two chickens to make sure there are plenty of leftovers!

Homemade Rotisserie Chicken
Ingredients
- 2 teaspoons paprika
- 1 1/2 teaspoons dried thyme
- 1 teaspoon garlic powder
- 1 teaspoon onion powder
- Salt and freshly ground black pepper to taste
- 1 whole chicken 4 to 5 pounds
- 2 tablespoons olive oil
Instructions
- Preheat your oven to 425°F (220°C). This high heat will help to crisp the skin and lock in the flavors.
- In a small bowl, combine the paprika, dried thyme, garlic powder, onion powder, salt, and pepper. This blend will give your chicken that classic rotisserie taste.

- Remove any giblets from the chicken cavity and pat the chicken dry with paper towels. Dry skin ensures better spice adhesion and crispier results.
- Rub the chicken all over with olive oil, then massage the spice mixture onto the skin, covering it evenly. Don't forget to season the inside cavity for an all-around flavor.
- Place the chicken breast-side up in a roasting pan and put it in the preheated oven. Roast for about 70 minutes or until the internal temperature reaches 165°F (74°C) and the juices run clear.
- Once cooked, let the chicken rest for 10 minutes before carving. This allows the juices to redistribute, ensuring a moist and flavorful chicken.