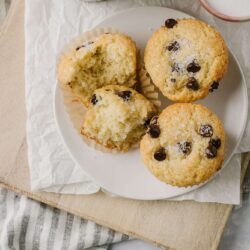
These are the best chocolate chip muffins, they come together in minutes and have a crunchy top with a fluffy interior with lots of chocolate chips!
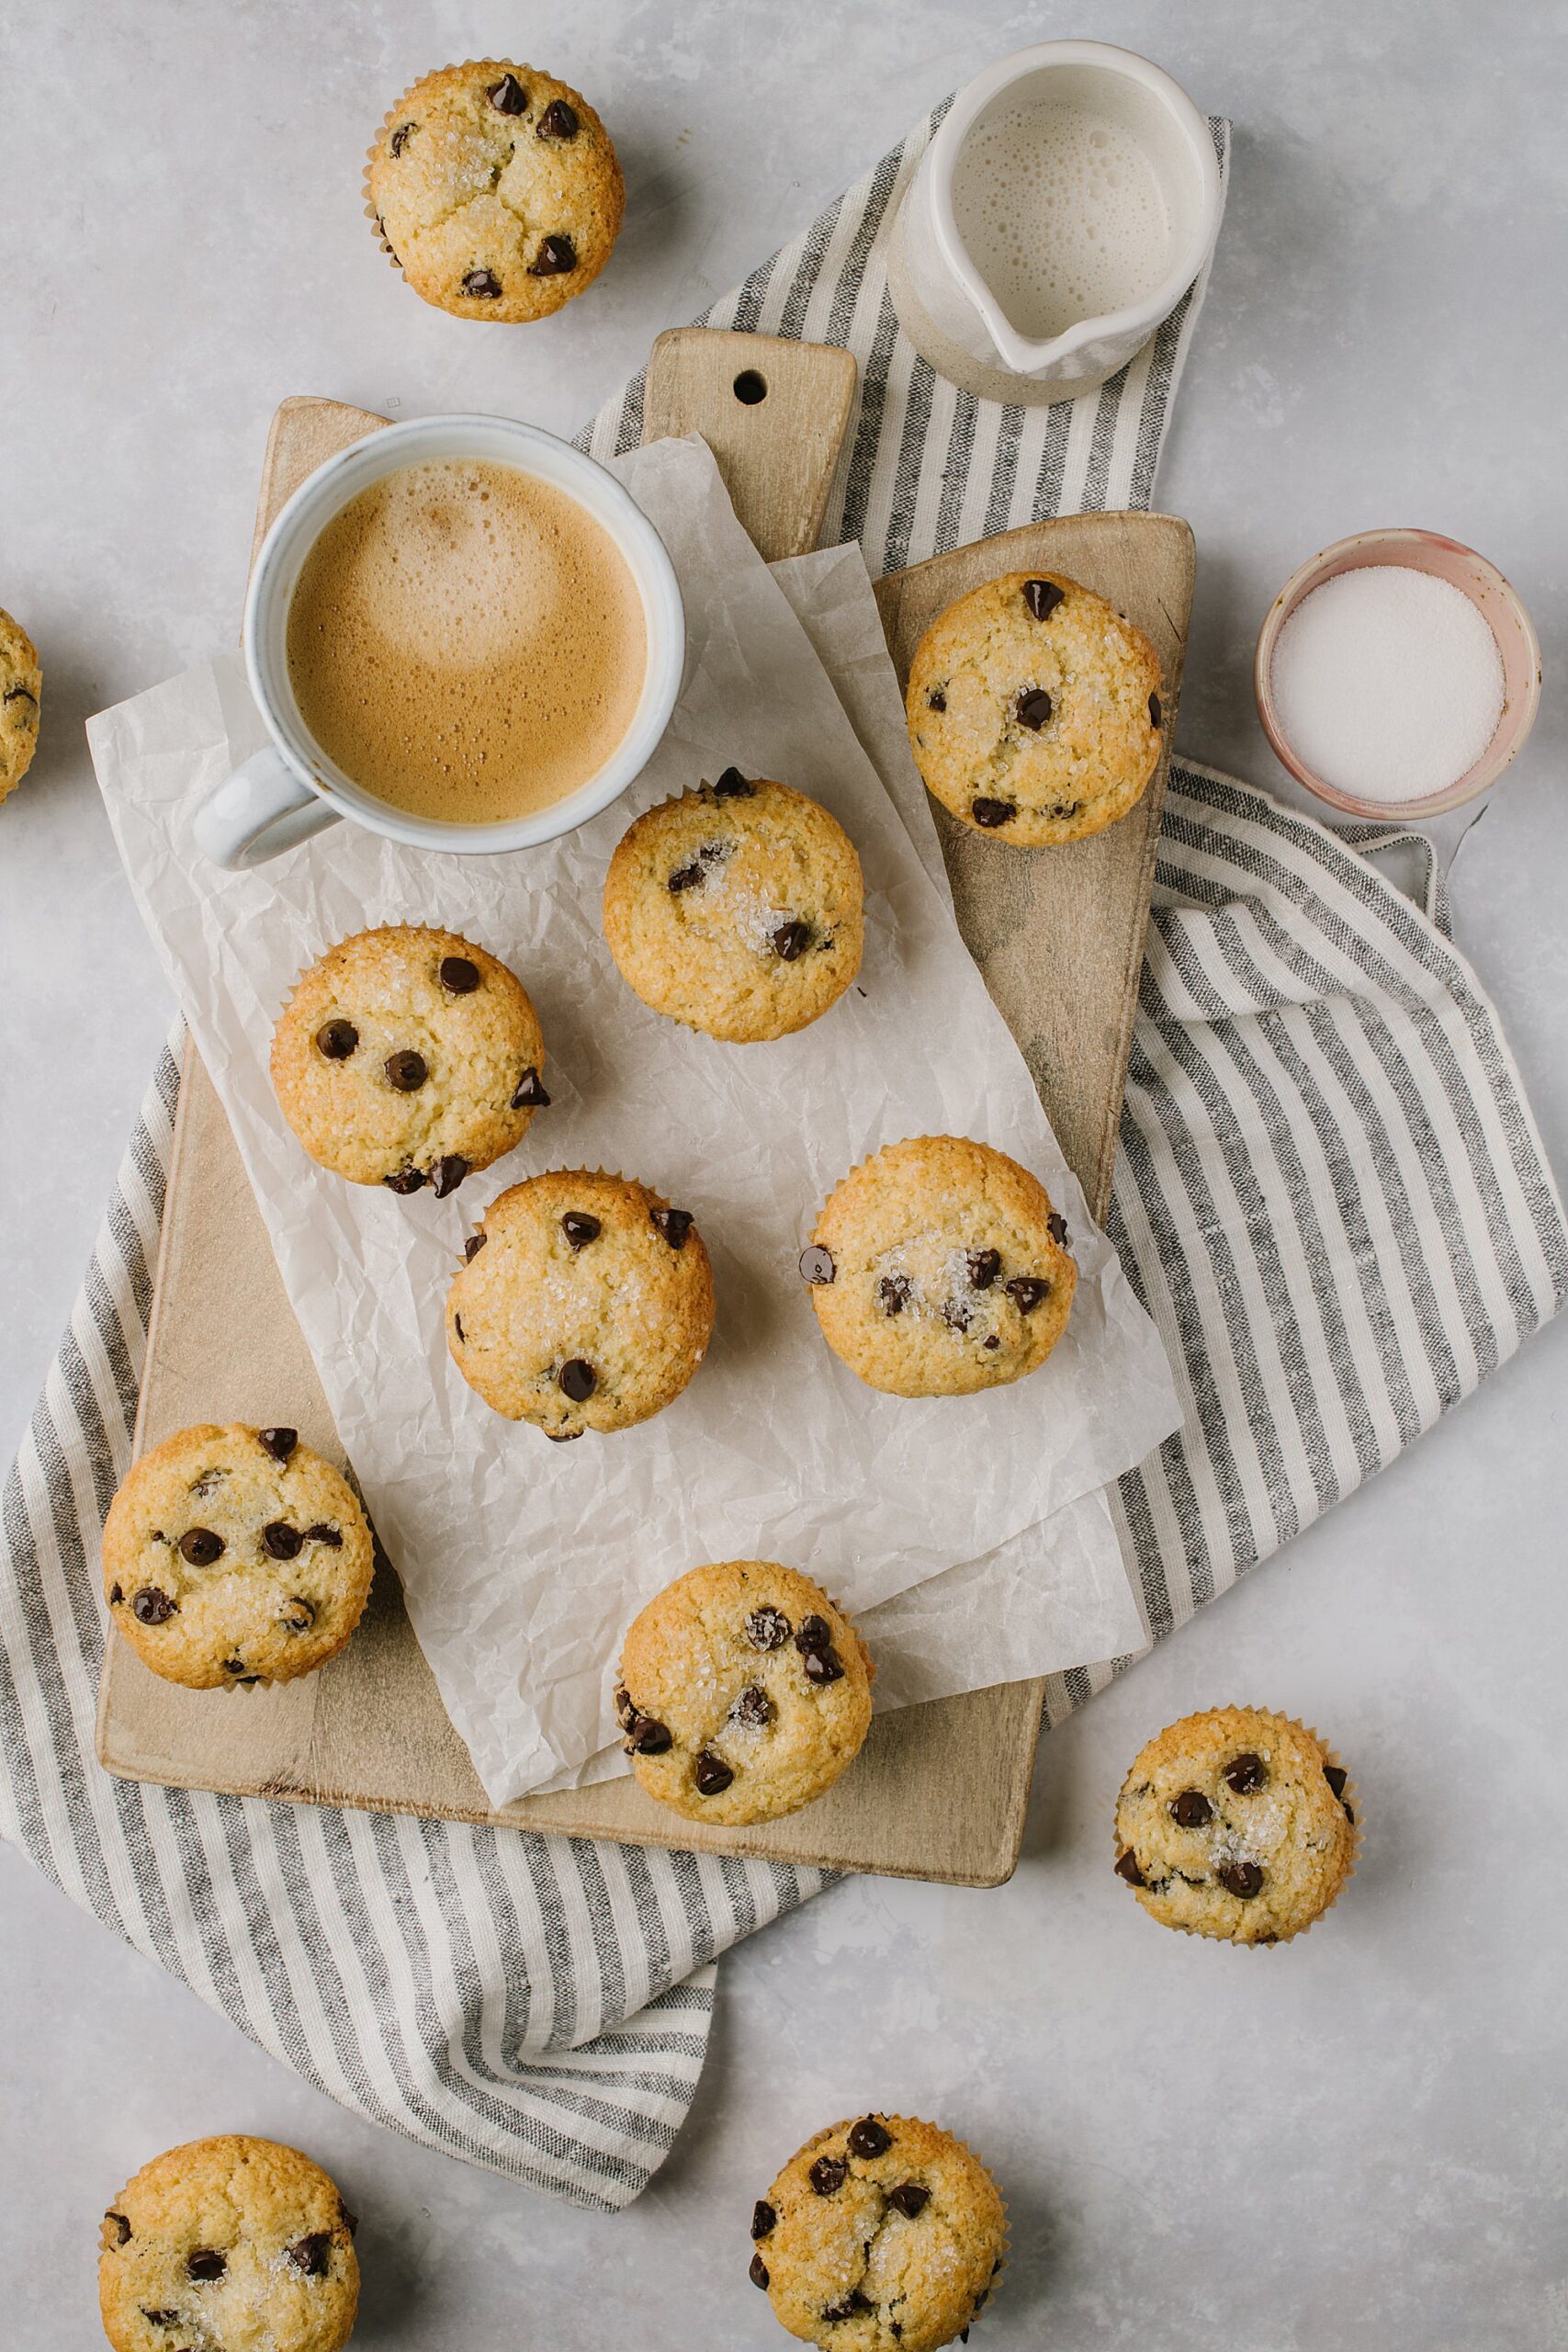
When I was in college, I would get a jumbo chocolate chip muffin from the snack stand that was in front of my classroom every single morning. I remember that they were $1.25 and I would have an icy cold Diet Coke to wash it down.
That combo made taking Biology notes more bearable at 8 am. (Remember when you were in college and 8 am seemed like the crack of dawn? Ha!)
I also remember with fondness being able to eat a jumbo chocolate chip muffin every single day without remorse, but that is neither here nor there.
Chocolate chip muffins still are a favorite of mine and still have a place in my diet – just maybe not every single day and maybe not jumbo.
I’ve been making a lot of muffin recipes lately and this one has quickly become a favorite. It’s so easy that I’ve memorized it. You can adapt it a million ways, it is absolutely foolproof. For a delightful twist, you can try making whole wheat orange chocolate chip muffins as well!

Ingredients
These easy chocolate chip muffins are made simple pantry ingredients – flour, sugar, baking powder, salt, eggs, oil, milk, vanilla, chocolate chips, and sanding sugar.
Oil. I use vegetable oil in my muffins. Oil gives us a tender and moist muffin. It also allows us to get these muffins into the oven in minutes without having to cream butter.
Chocolate chips. I like semi-sweet chocolate because my muffins are sweet on their own, but you can add dark or milk chocolate if you like.
Sanding sugar. My secret weapon for bakery-style muffins at home. Sanding sugar is larger sugar crystals that add so much sparkle and crunch to baked goods. Absolutely worth keeping on hand.
Why Are These Chocolate Chip Muffins So Delicious?
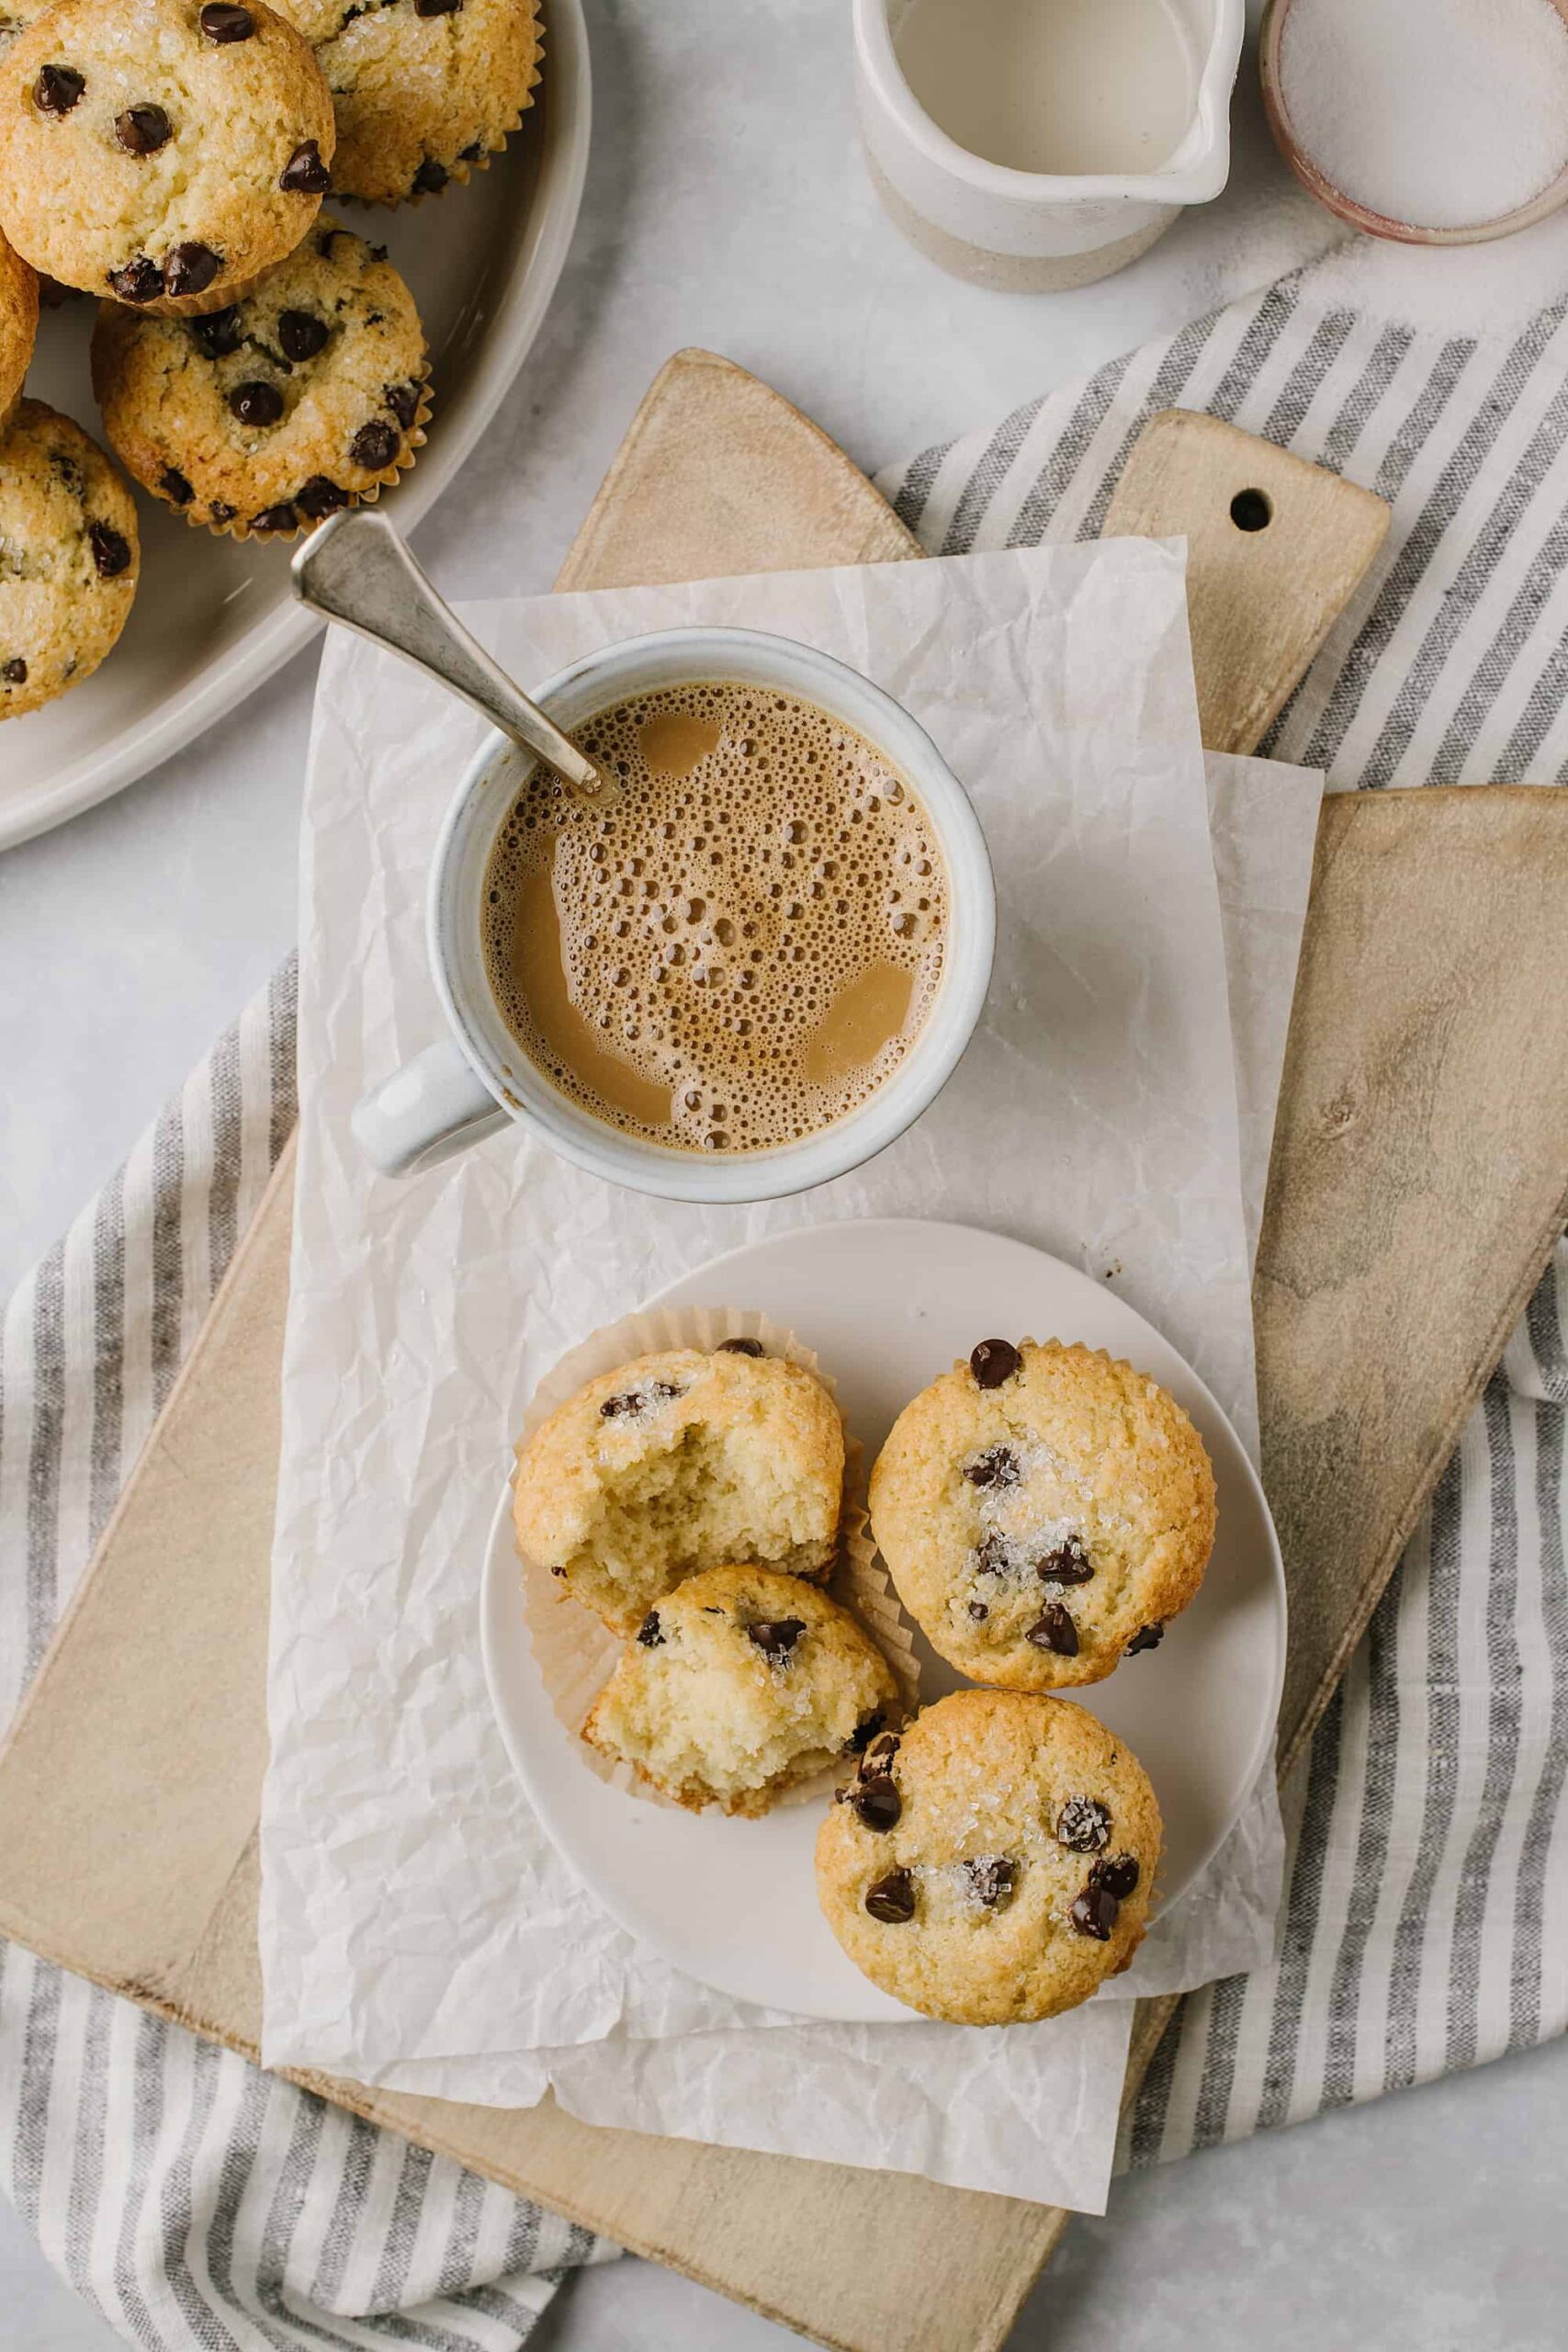
- Perfect texture. They have crunchy muffin tops and tender and moist bottoms. Truth be told, I don’t eat the bottoms, I am one of those annoying people that just eats the tops of muffins. Using oil instead of butter gives these muffins a lot of moisture and a tender crumb. For another moist and tender muffin, check out our Whole Wheat Orange Chocolate Chip Muffins.
- Cake disguised as muffins. Let’s be honest here. These are essentially little cakes with no frosting on them. You could put buttercream on them and they would be a cupcake and I would not be mad at it. If you’re in the mood for a variation with frosting, you might enjoy our Caramel Cupcakes.
- Chocolate. Do I really need to elaborate? But putting chocolate chips into muffins is never a bad idea. If chocolate is your weakness, you may also want to try our Hot Chocolate Cookies.
Variations
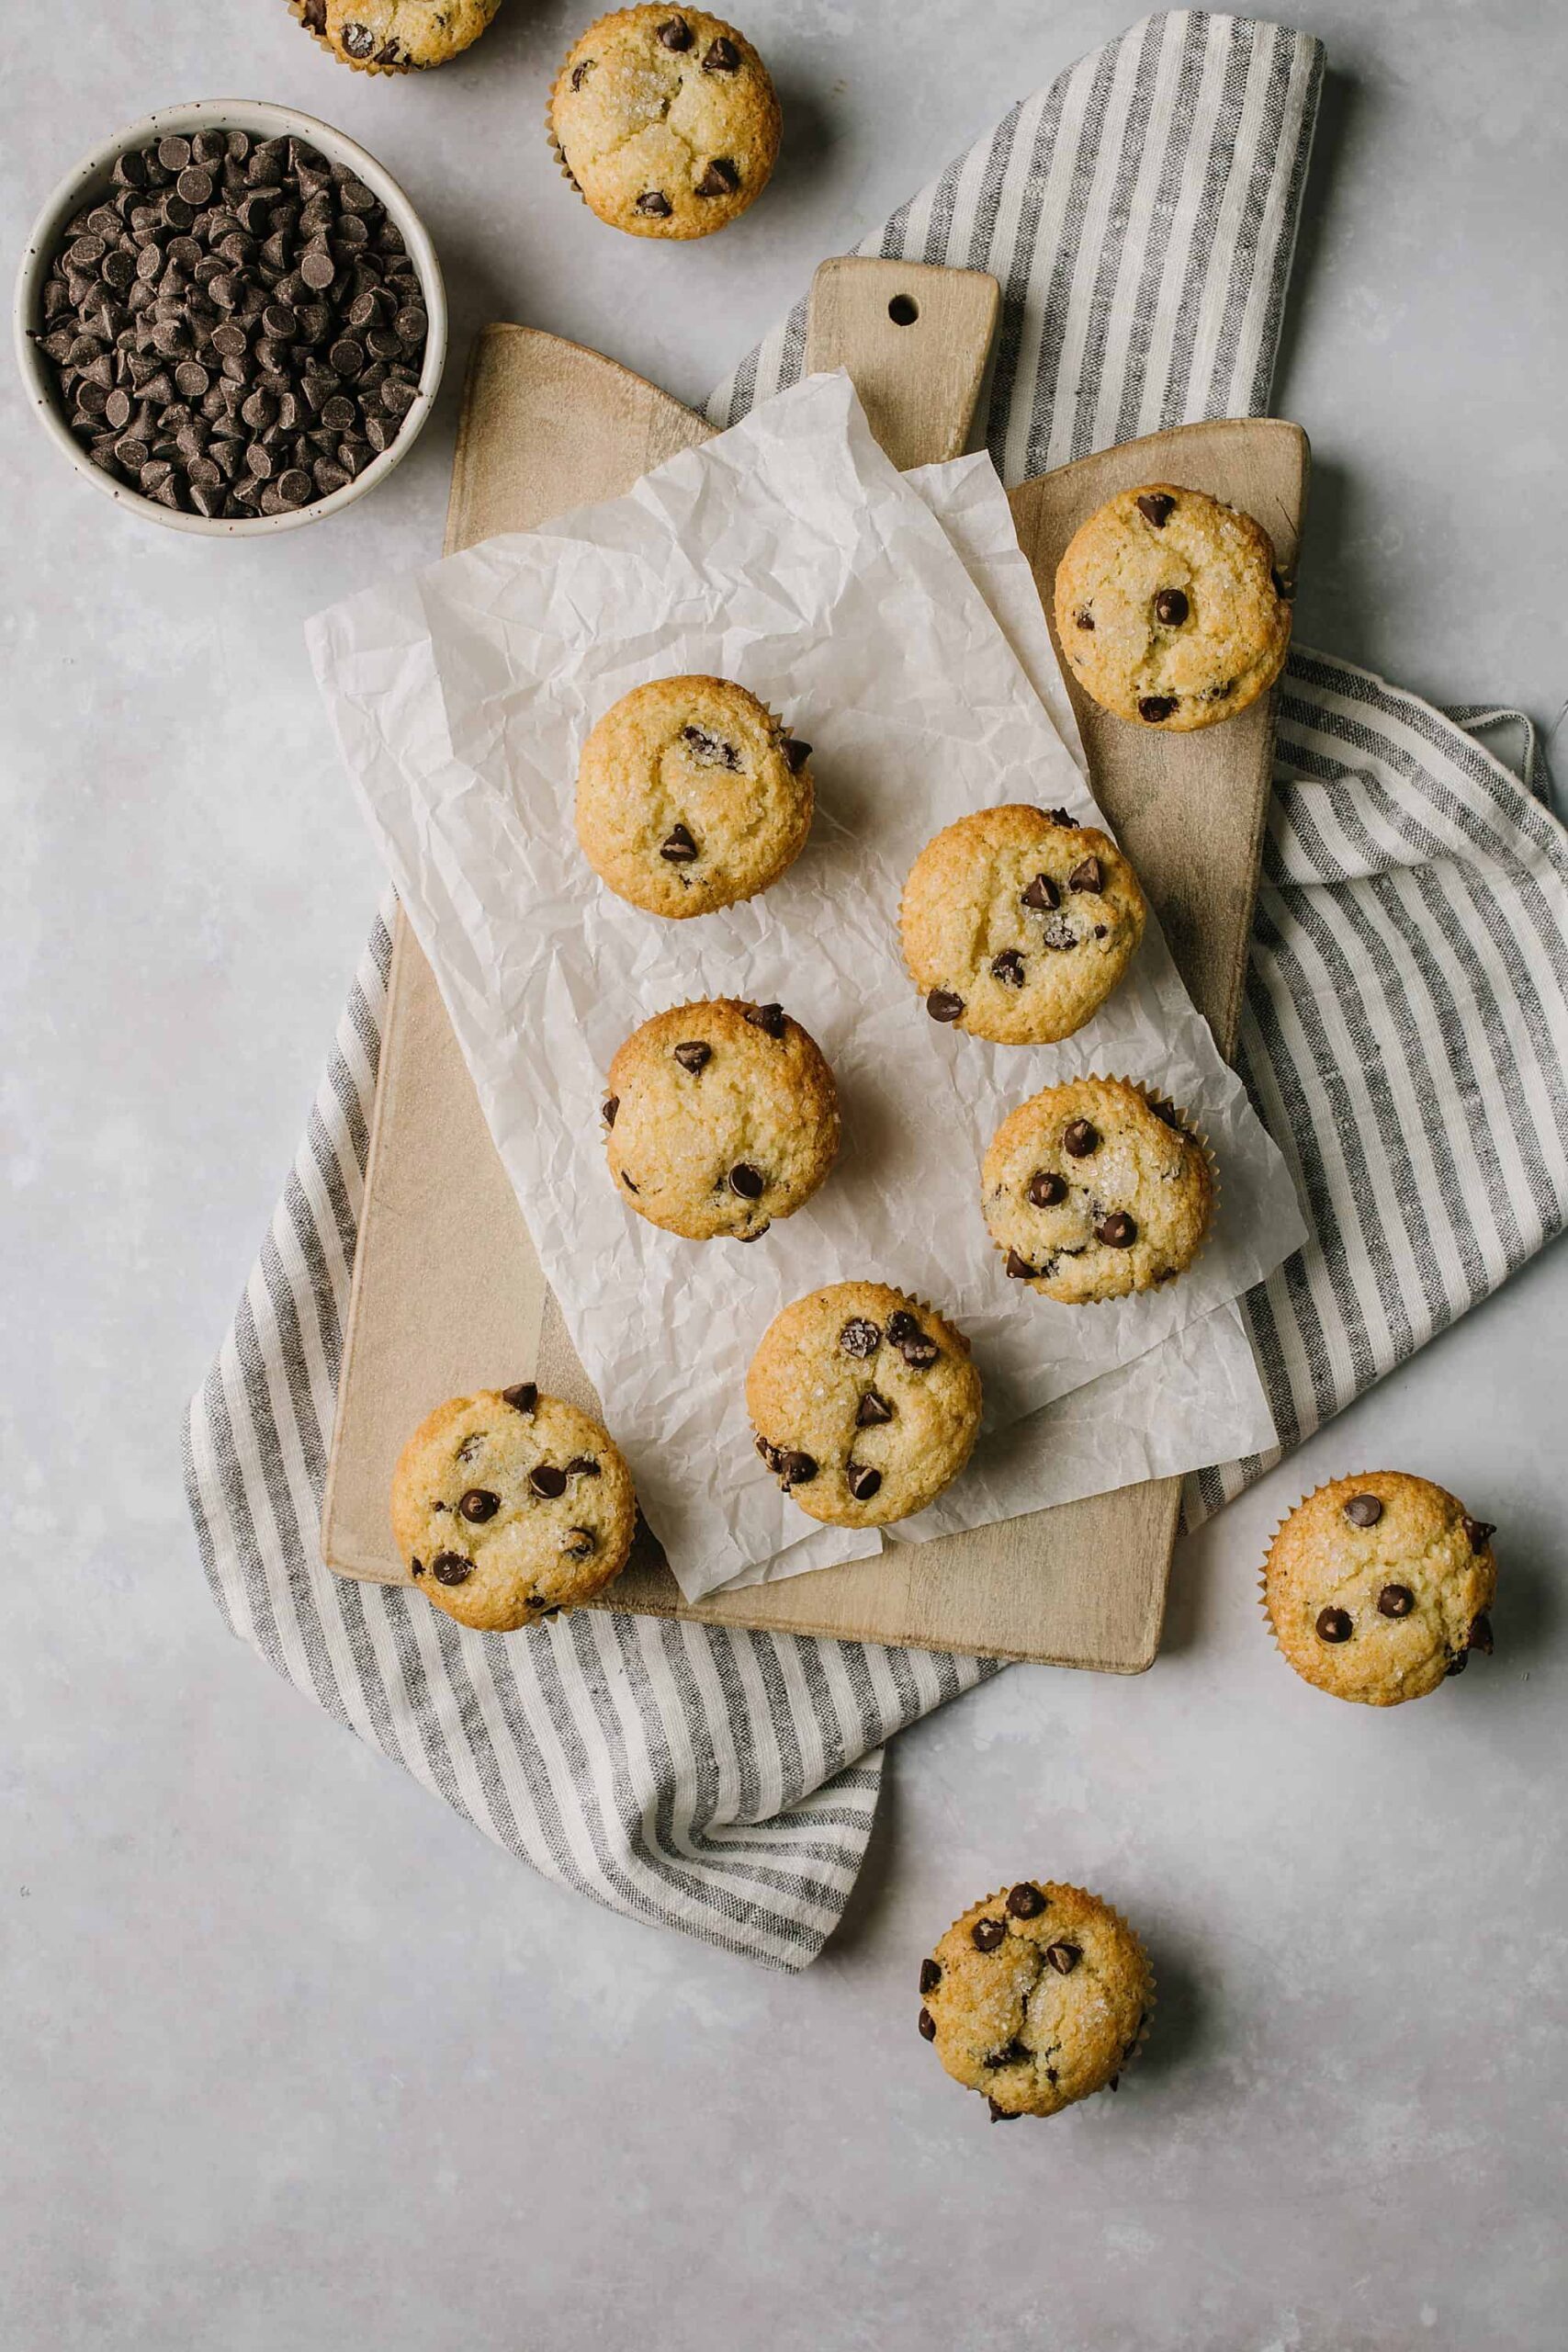
These bakery style chocolate chip muffins are pretty perfect as is, but we can always play with a great muffin recipe and see what else we come up with, right? A few delectable variations include:
- Orange Chocolate Muffins – add orange zest and use dark chocolate chips
- Raspberry Chocolate Muffins – use 1 cup fresh or thawed raspberries and 1 cup chocolate chips
- Strawberry Chocolate Muffins – use 1 cup fresh or thawed strawberries and 1 cup chocolate chips
- Gluten-Free Chocolate Chip Muffins – substitute a 1:1 Gluten-Free flour.
- Vegan Chocolate Chip Muffins – use dairy-free milk, egg replacer, and dairy-free chocolate chips
- Mini Chocolate Chip Muffins – use mini chocolate chips and bake in a mini muffin pan for about 12 minutes
- Jumbo Chocolate Chip Muffins – bake in a jumbo-size muffin pan for about 25 to 30 minutes
How to Store
These muffins are best eaten the day you bake them, but will keep stored in an airtight container for up to 3 days. If you’re interested in a different variety, our Lemon Raspberry Muffins are also a delightful option.
To freeze muffins, cool completely, and place muffins on a baking sheet and place in freezer. Freeze solid for one hour. Transfer frozen muffins to a freezer bag. To reheat, microwave for 30 to 45 seconds on HIGH or wrap muffins in foil and bake in a 400° oven for 10 to 15 minutes until warmed through.
The Best Chocolate Chip Muffins
Ingredients
- 3 cups flour
- 1 ½ cups sugar
- 4 teaspoons baking powder
- 1 teaspoon salt
- ¾ cup vegetable oil
- ¾ cup whole milk
- 1 teaspoon vanilla
- 2 eggs
- 2 cups 12 oz. bag semi-sweet chocolate chips
- Sanding sugar
Instructions
- Preheat your oven to 400°. Line two muffin tins with paper liners and set aside.
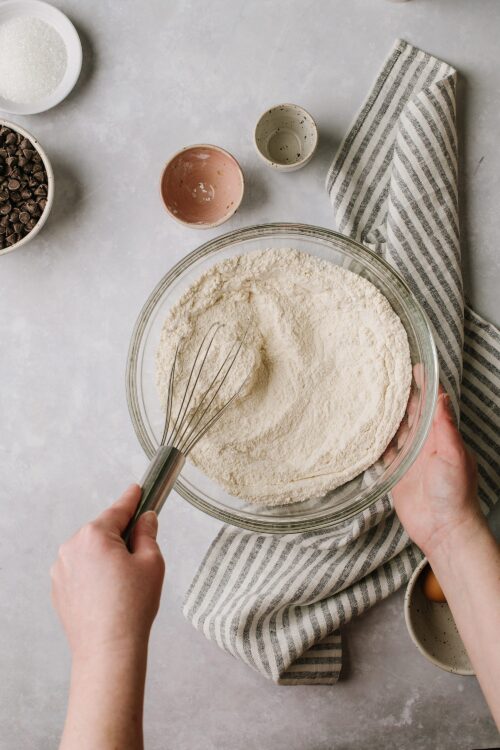
- Whisk the dry ingredients in a large bowl until well combined.
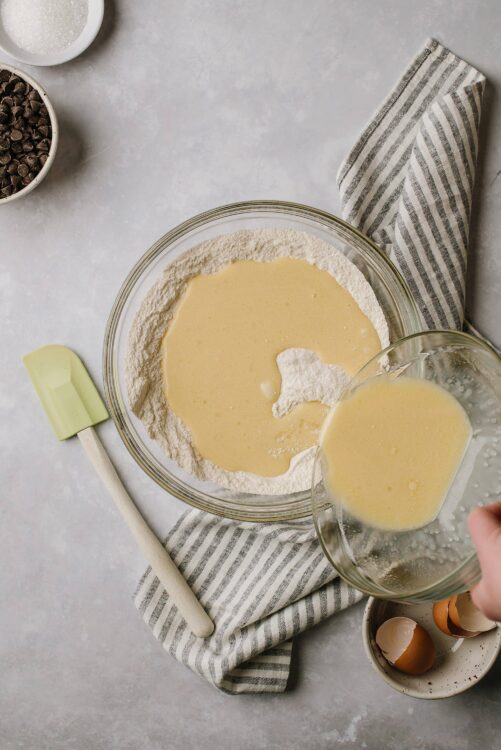
- Whisk the wet ingredients until well combined.

- Make a well in the center of the dry ingredients and pour in the wet ingredients.
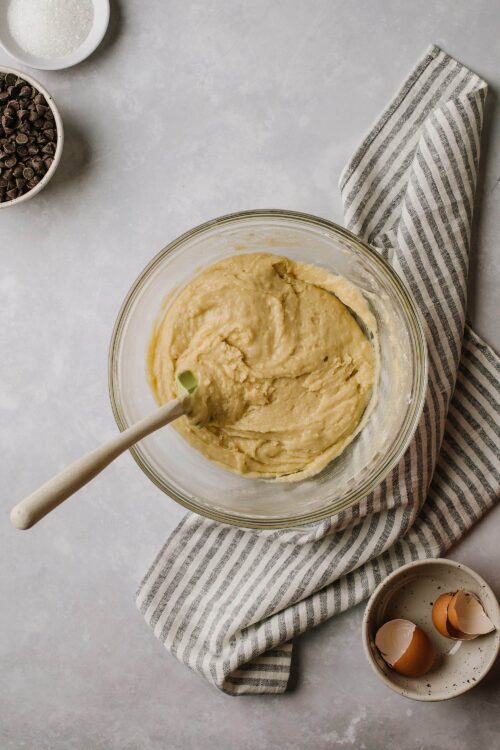
- Mix wet into dry until just combined. Making sure to not over mix the batter.
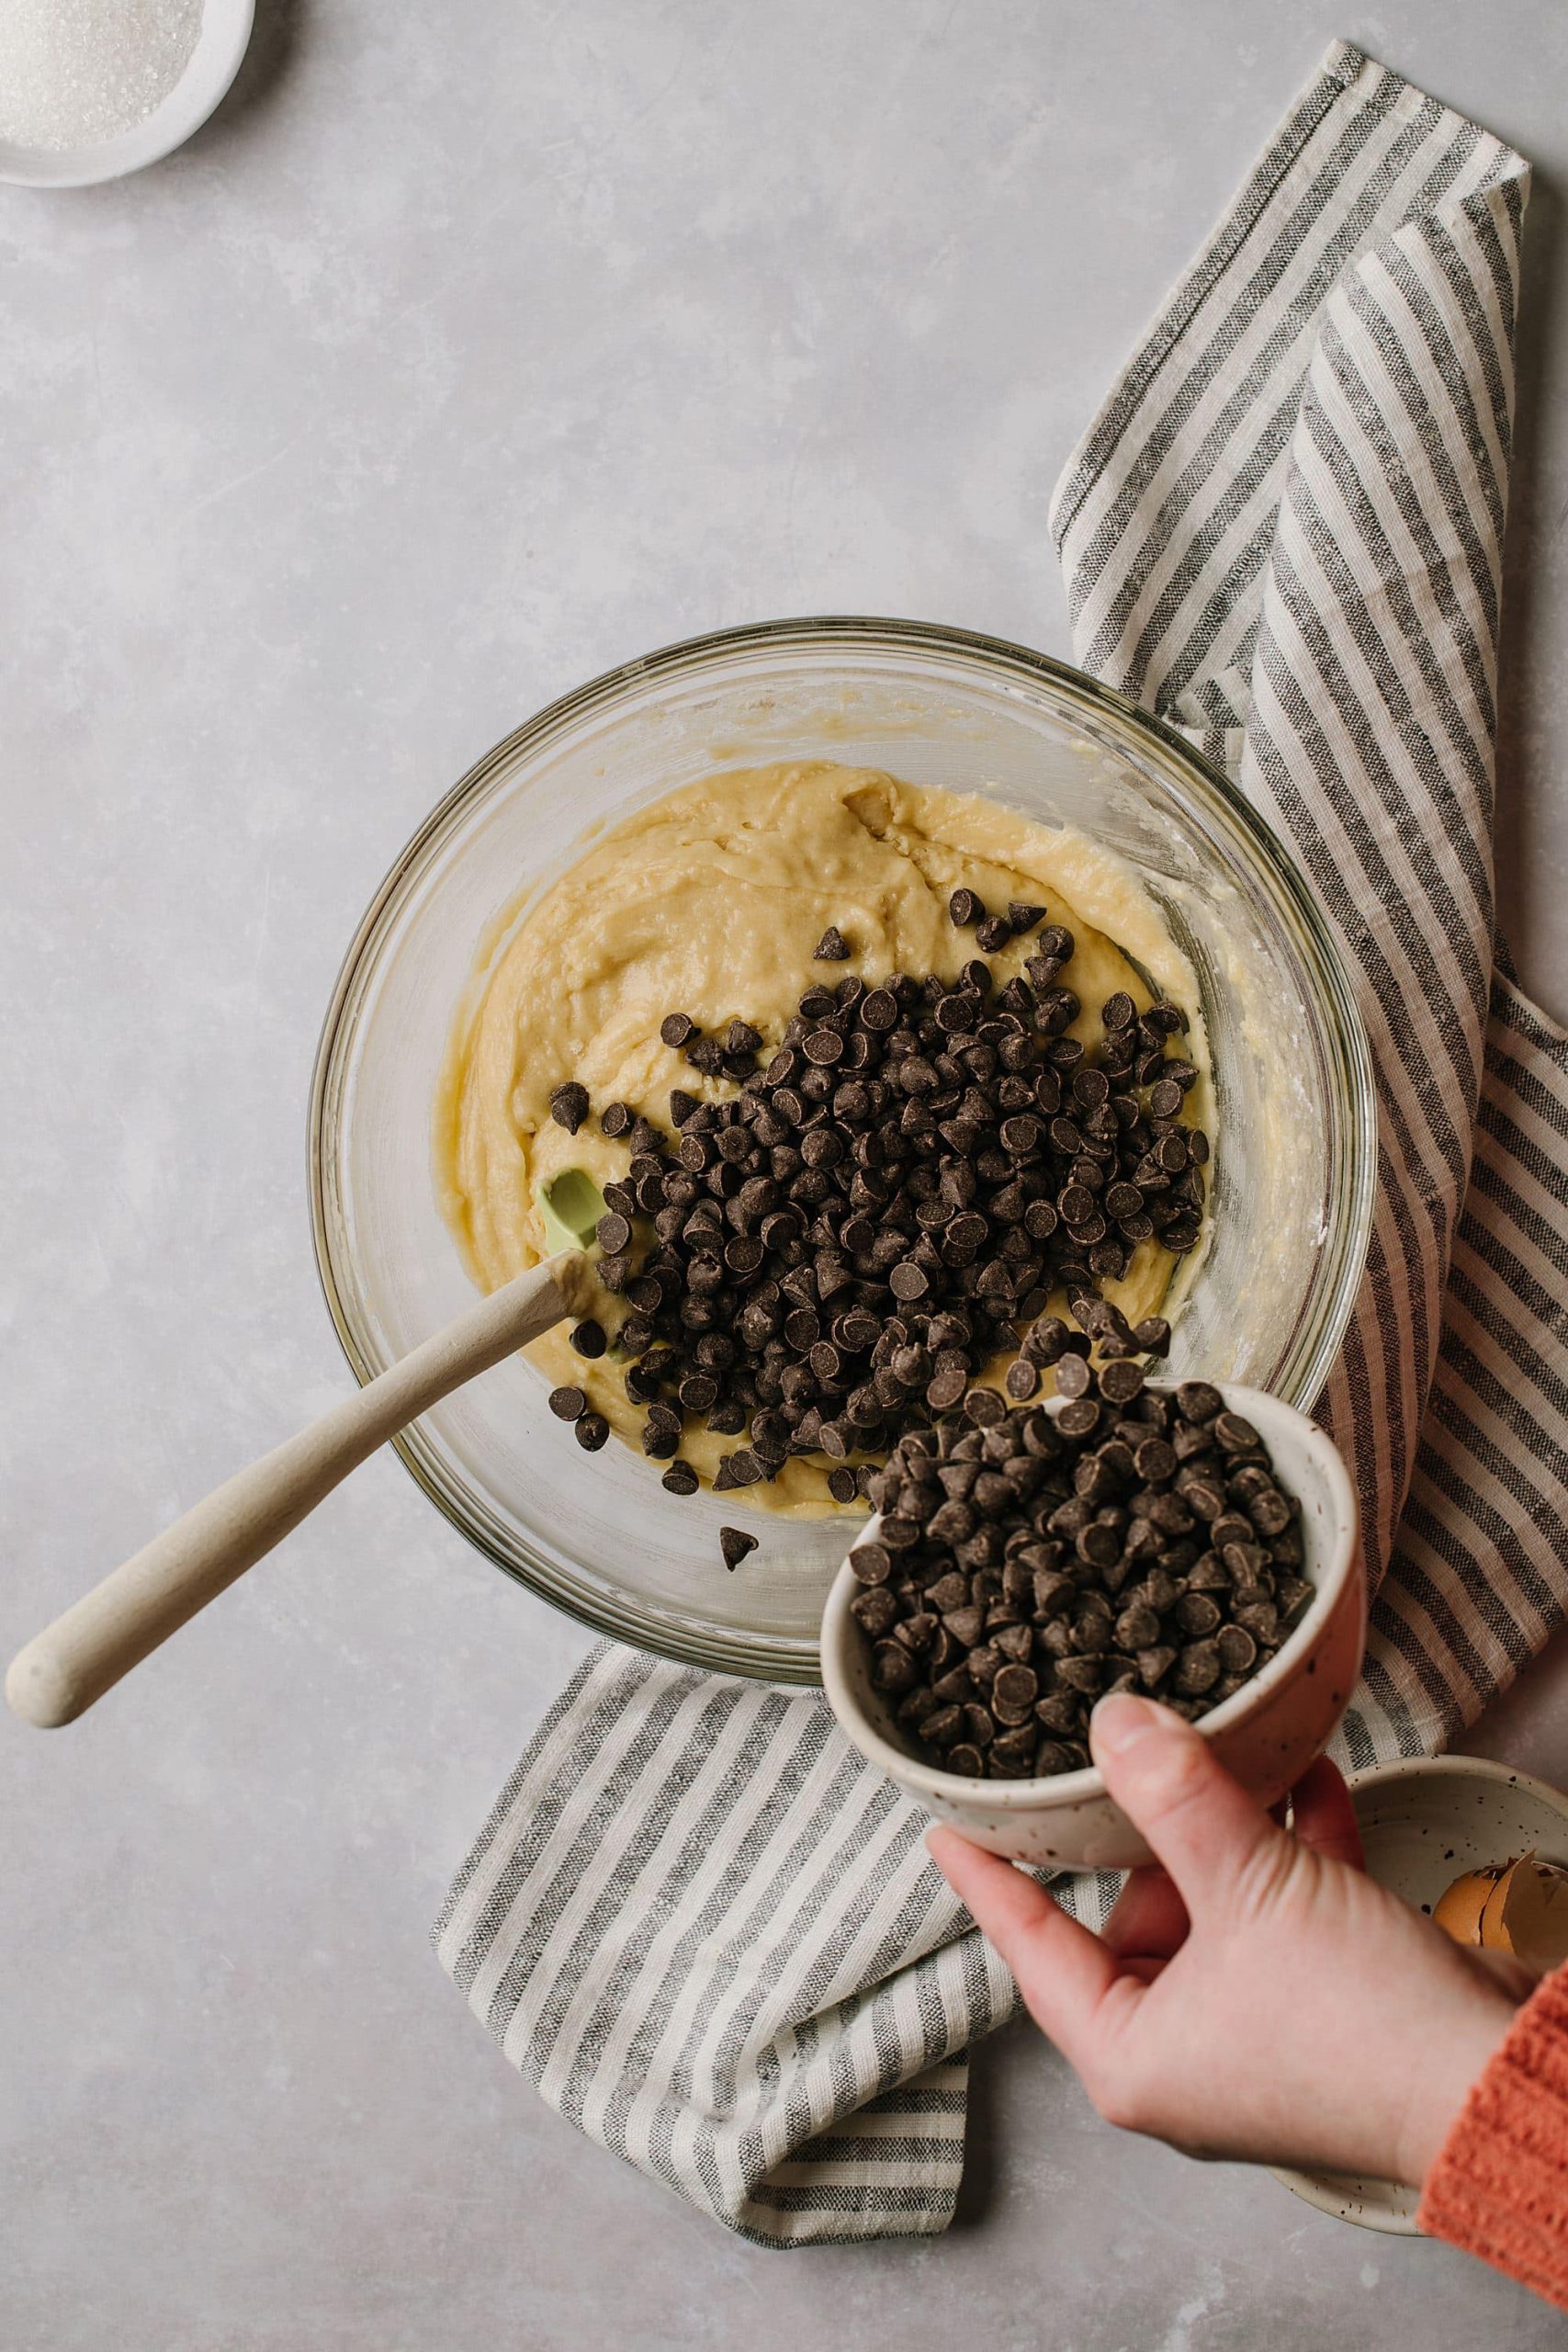
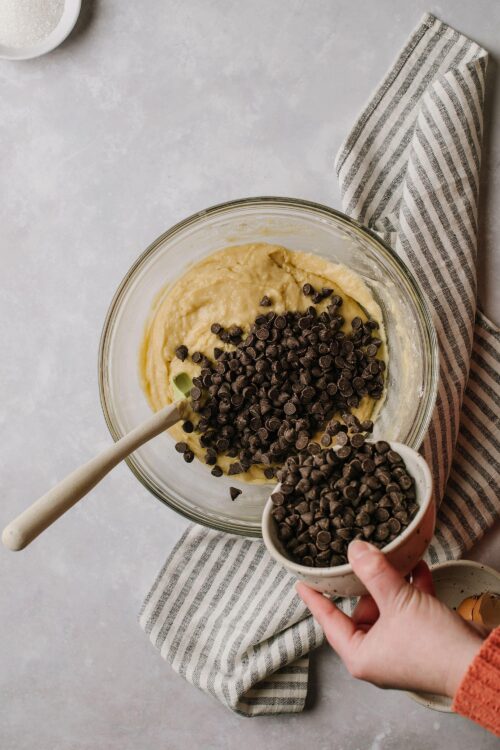
- Add the chocolate chips. I leave some out to sprinkle on the top. Fold through the batter.
- Use a scoop to divide the batter evenly into the muffin tin.
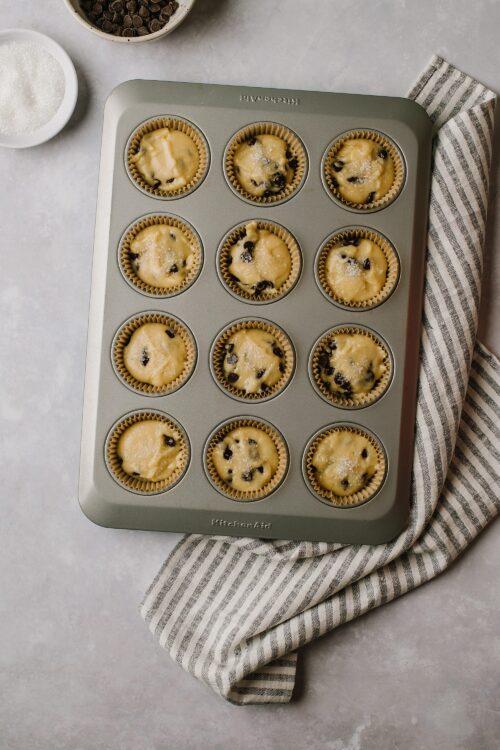
- Sprinkle the top with reserved chips and sanding sugar.
- Bake for 18 to 20 minutes or until golden brown and a toothpick inserted comes out clean.
- Let cool on a wire rack.


Leave a Comment