This resilient little grain is a healthy add-on to practically any recipe!
Quinoa started gaining popularity as a gluten-free alternative and has remained in demand ever since. This tough little grain is one of humanity’s most ancient grains. Like, it’s really, really old—over 5,000 years old, in fact. Think of all the history, all the lives lived in those thousands of years. Quinoa almost feels like a time machine, or at the very least, a way for us to remain connected to our roots.
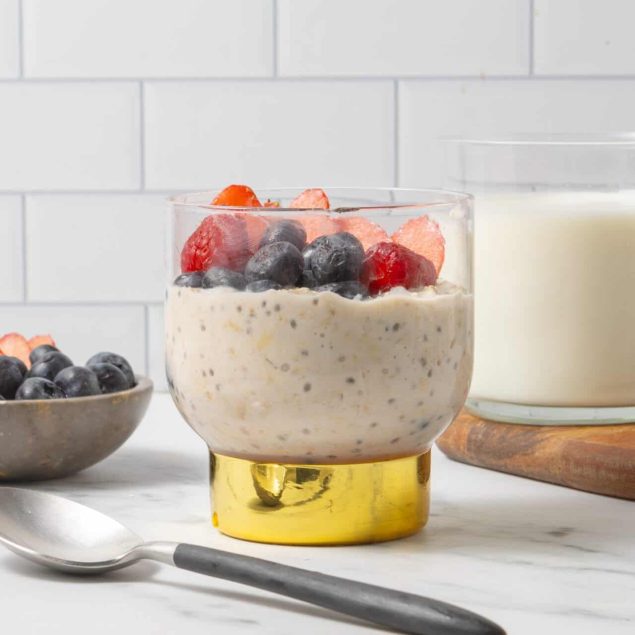
What I like about quinoa is that it’s very mild. At most, you’ll notice a mild earthy or nutty flavor. It’s a malleable grain that you can use in Mexican foods, breakfast recipes, or a healthy veggie bowl. Try it in salads, stuff it in peppers, bake it in cookies and casseroles. As the saying goes, the sky is the limit!
The Importance of Rinsing
What truly sets quinoa apart isn’t only its ancient history or its recent celebrity as a gluten-free grain. I’d say it’s the grain’s versatility. Quinoa is a culinary chameleon that acts as a catalyst for sweet and savory dishes alike. With this versatility comes one caveat—you need to be mindful during preparation.
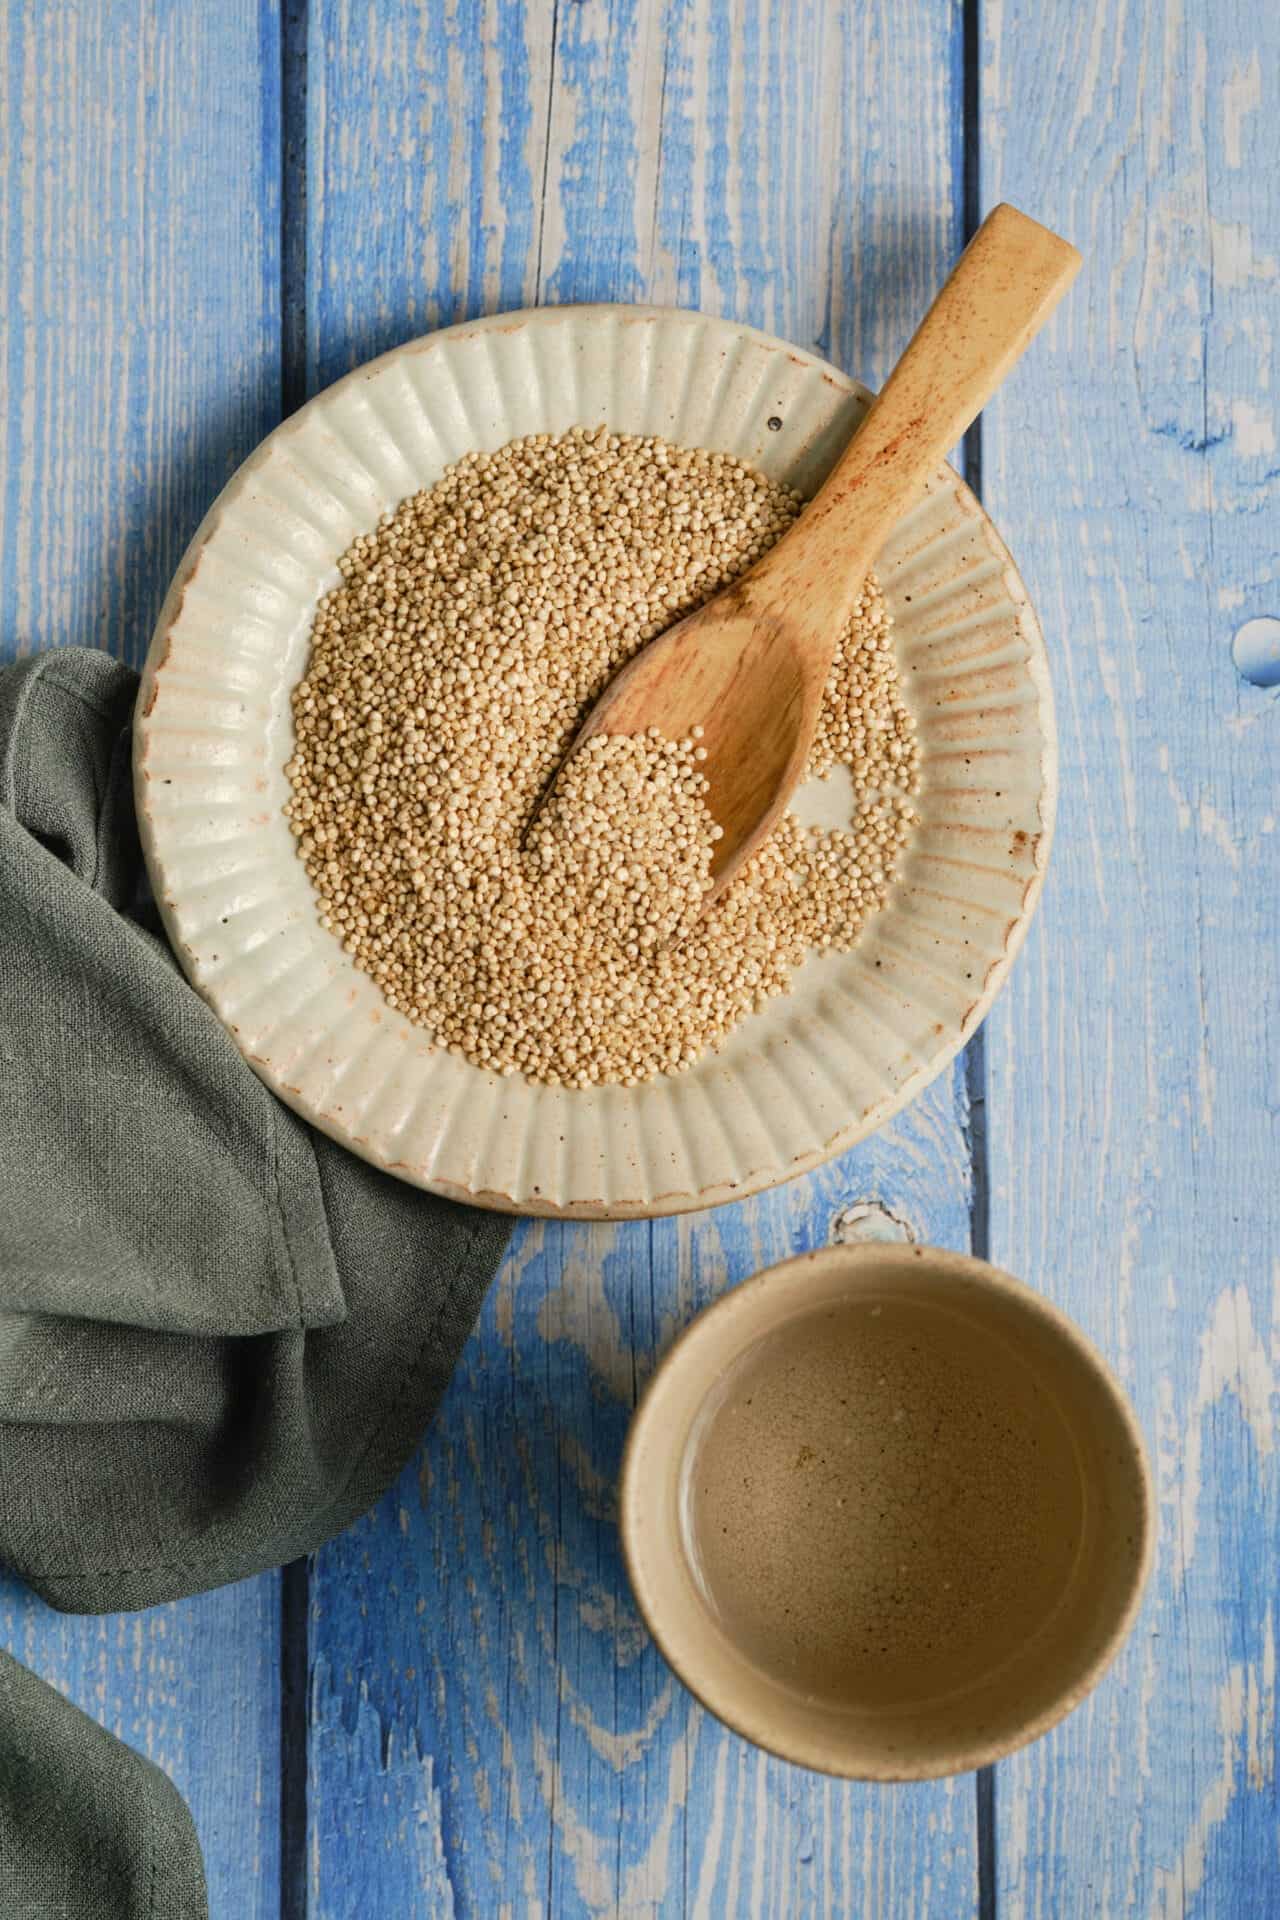
Rinsing quinoa is kind of a big deal. You don’t want to miss this step. A simple rinse removes the saponin, a natural coating on the quinoa. While quinoa is mild, this coating can give this grain a nasty, bitter taste. Saponins aren’t poisonous, but they can cause digestive discomfort if you ingest too much. It’s actually a pretty cool chemical that the quinoa plant uses to discourage birds and bugs from eating its seeds. But as long as you follow the instructions highlighted below, your tastebuds and tummy will be okay.
Ingredients
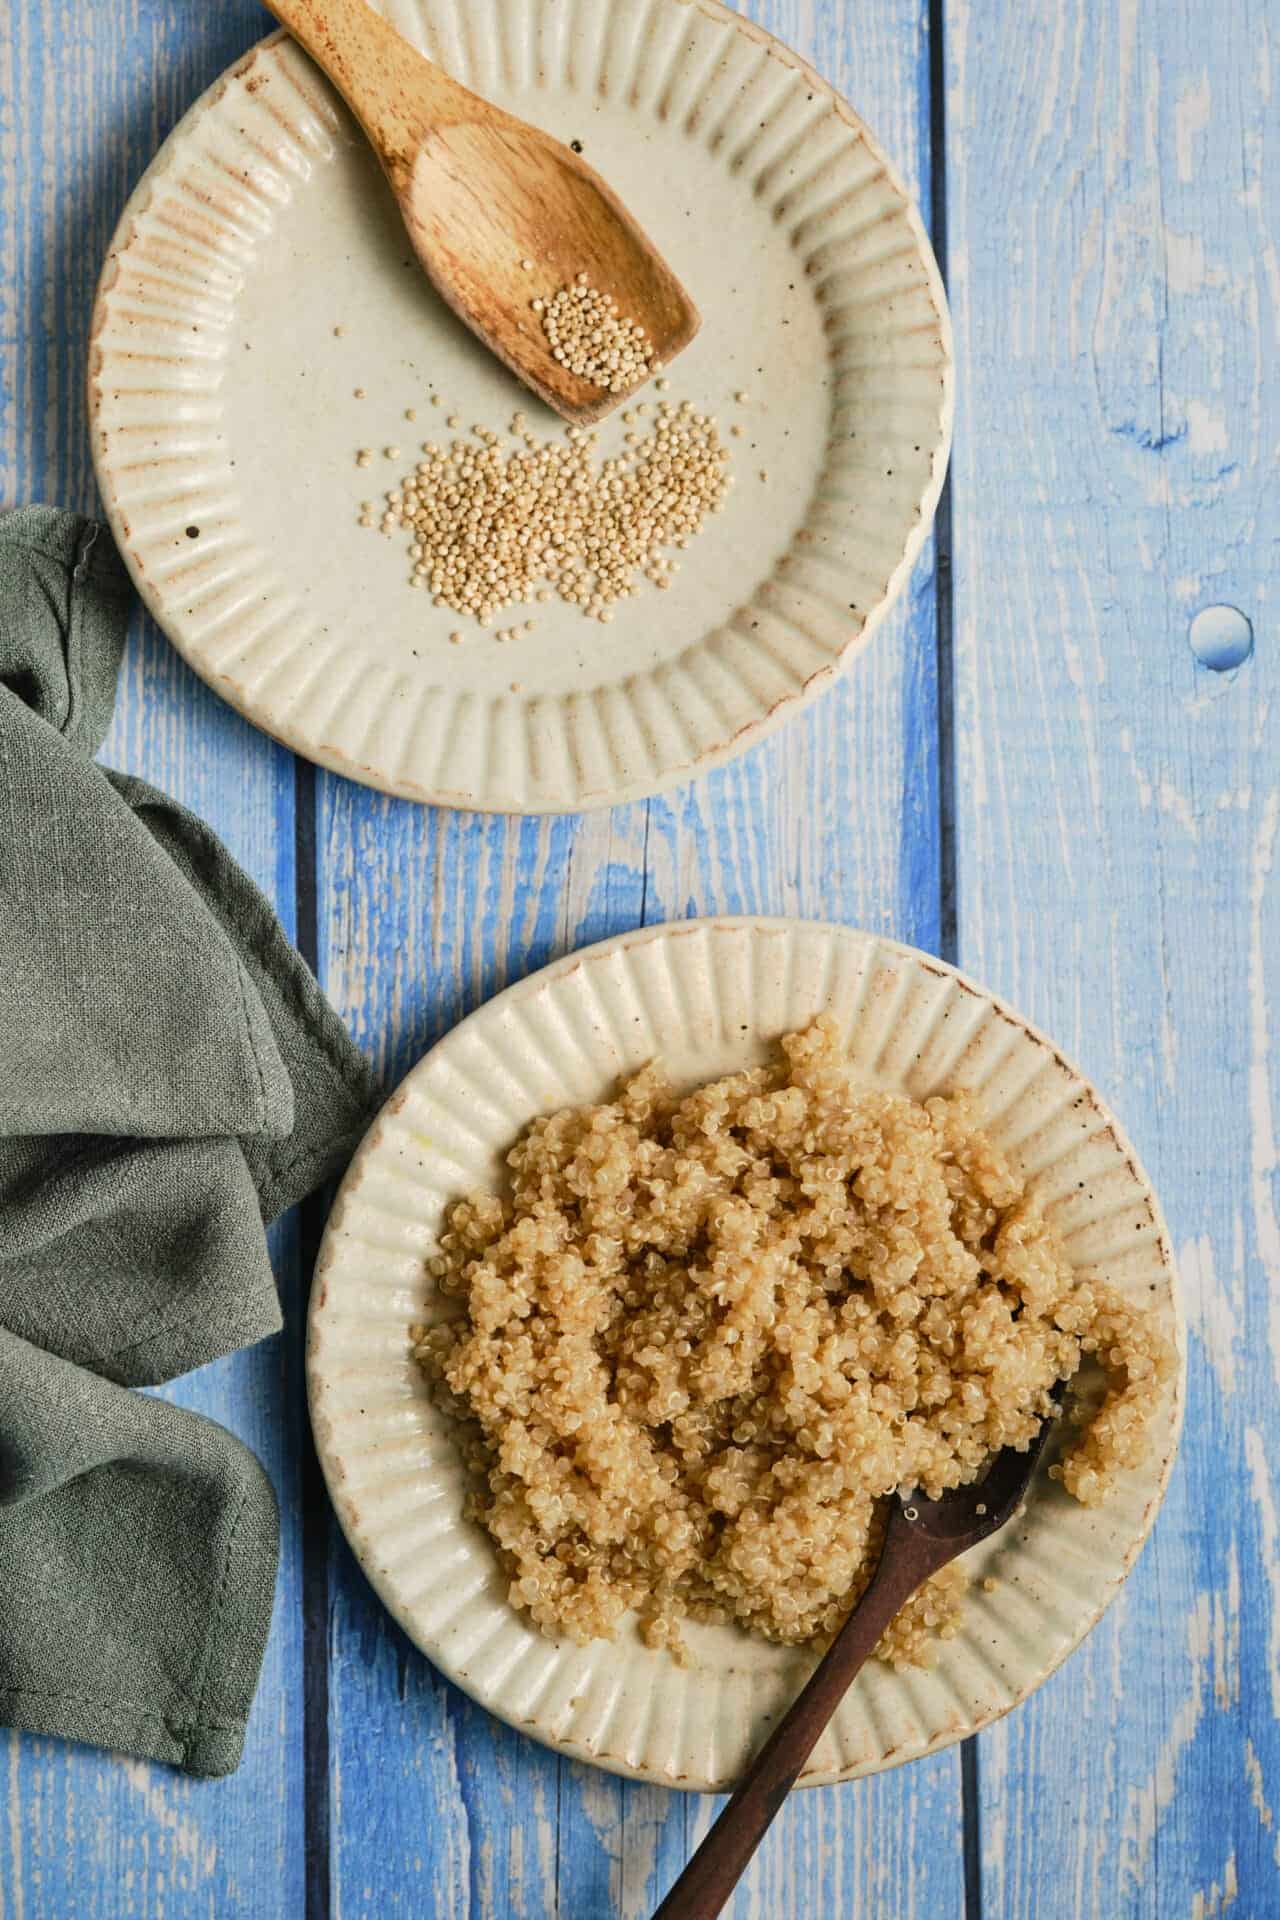
- 1 cup quinoa rinsed
- 1 3/4 cups water
How to Make Quinoa
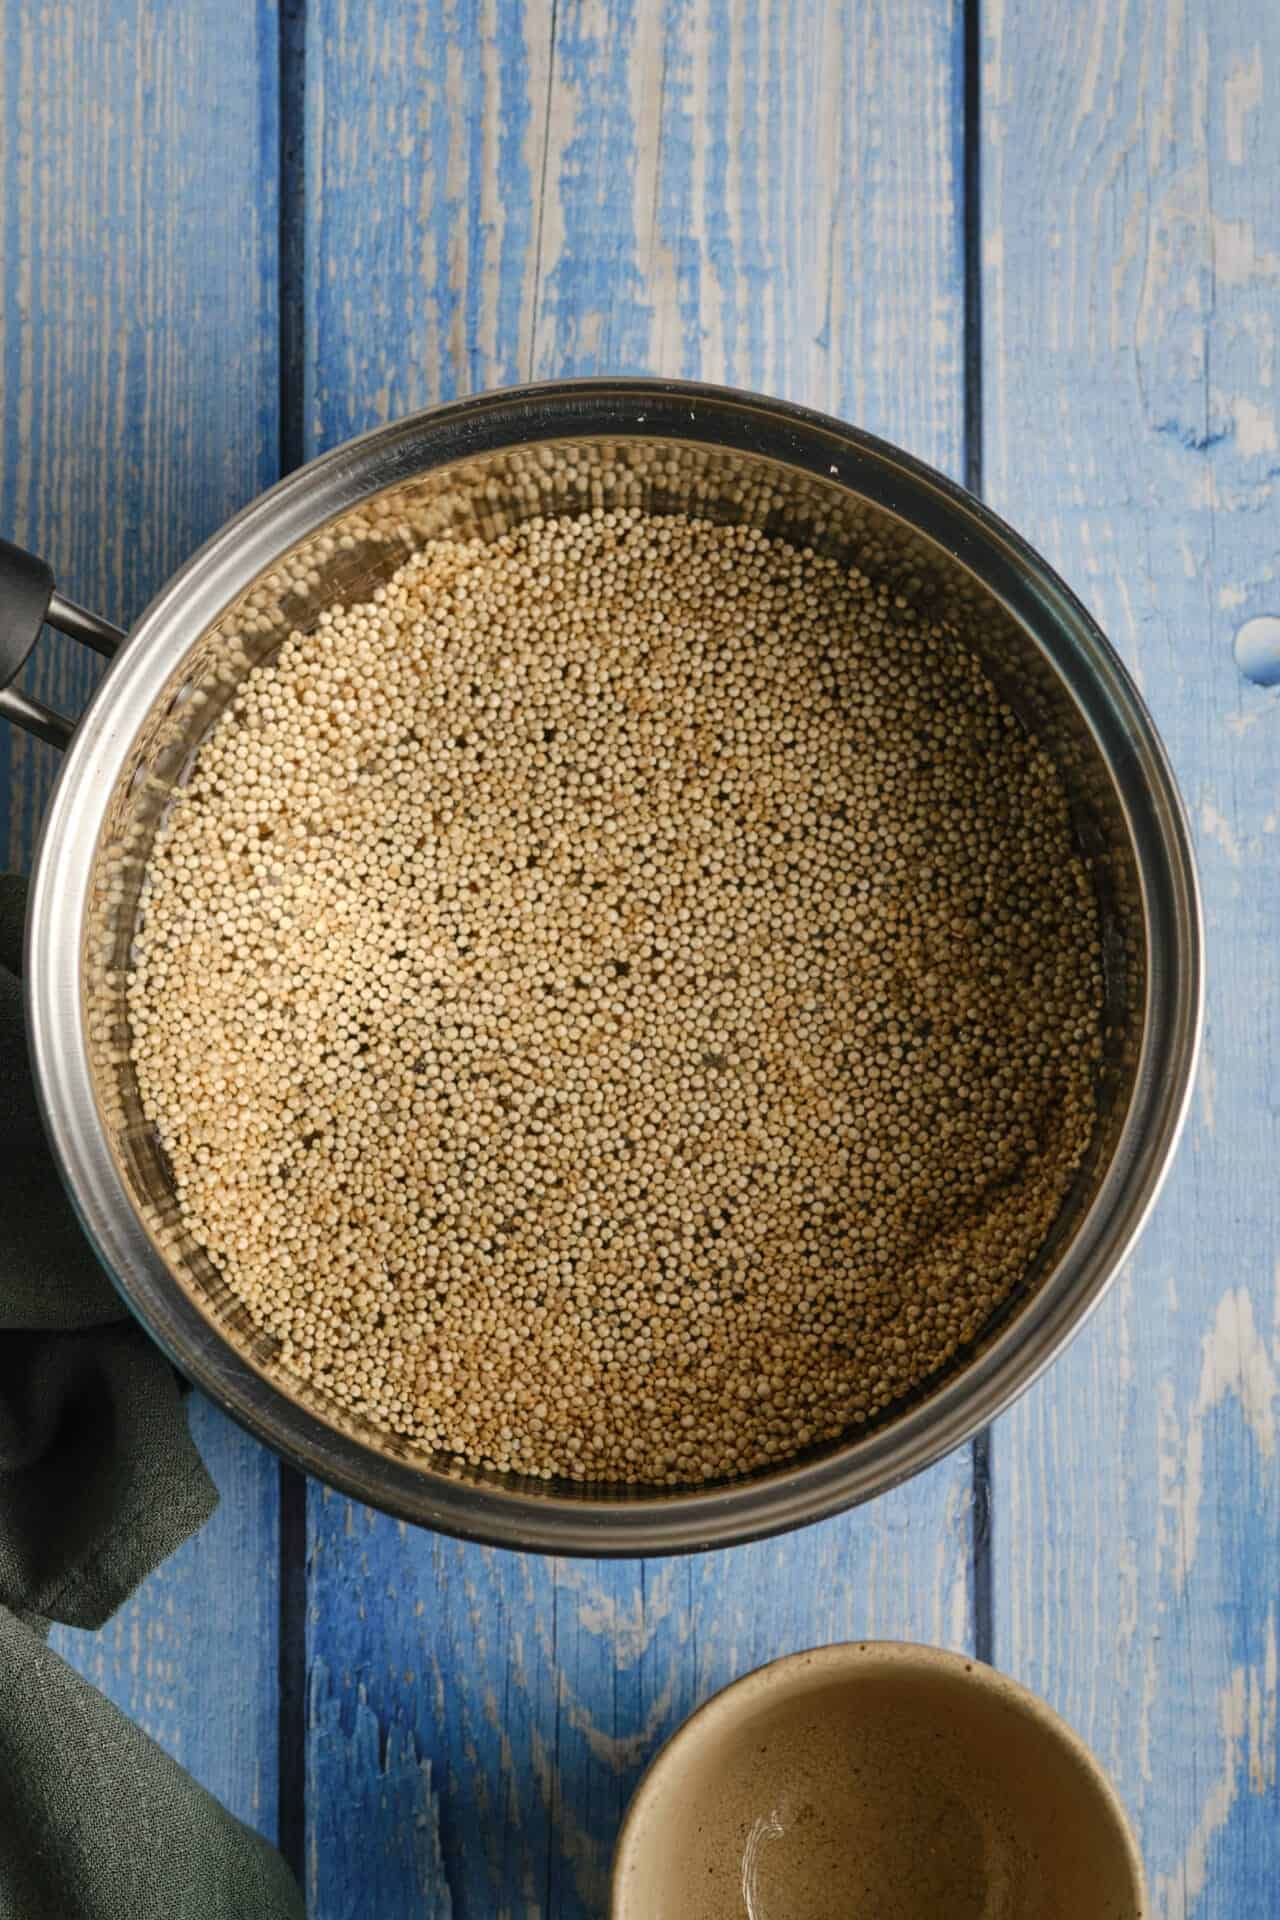
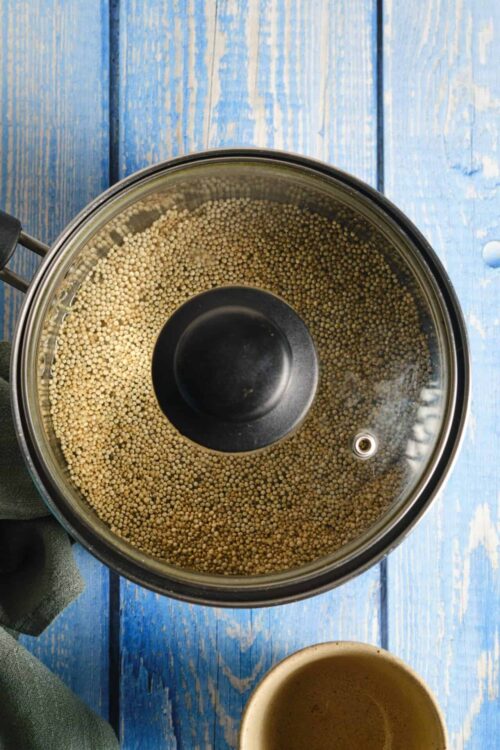
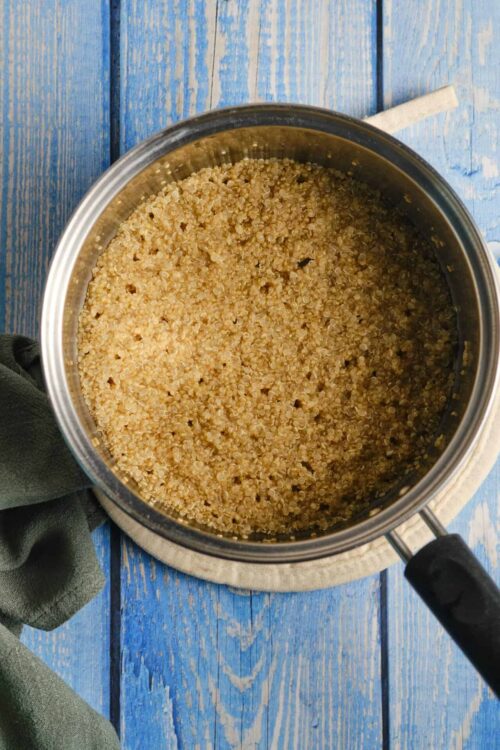
Step 1: Start by combining the rinsed quinoa and water in a medium pot.
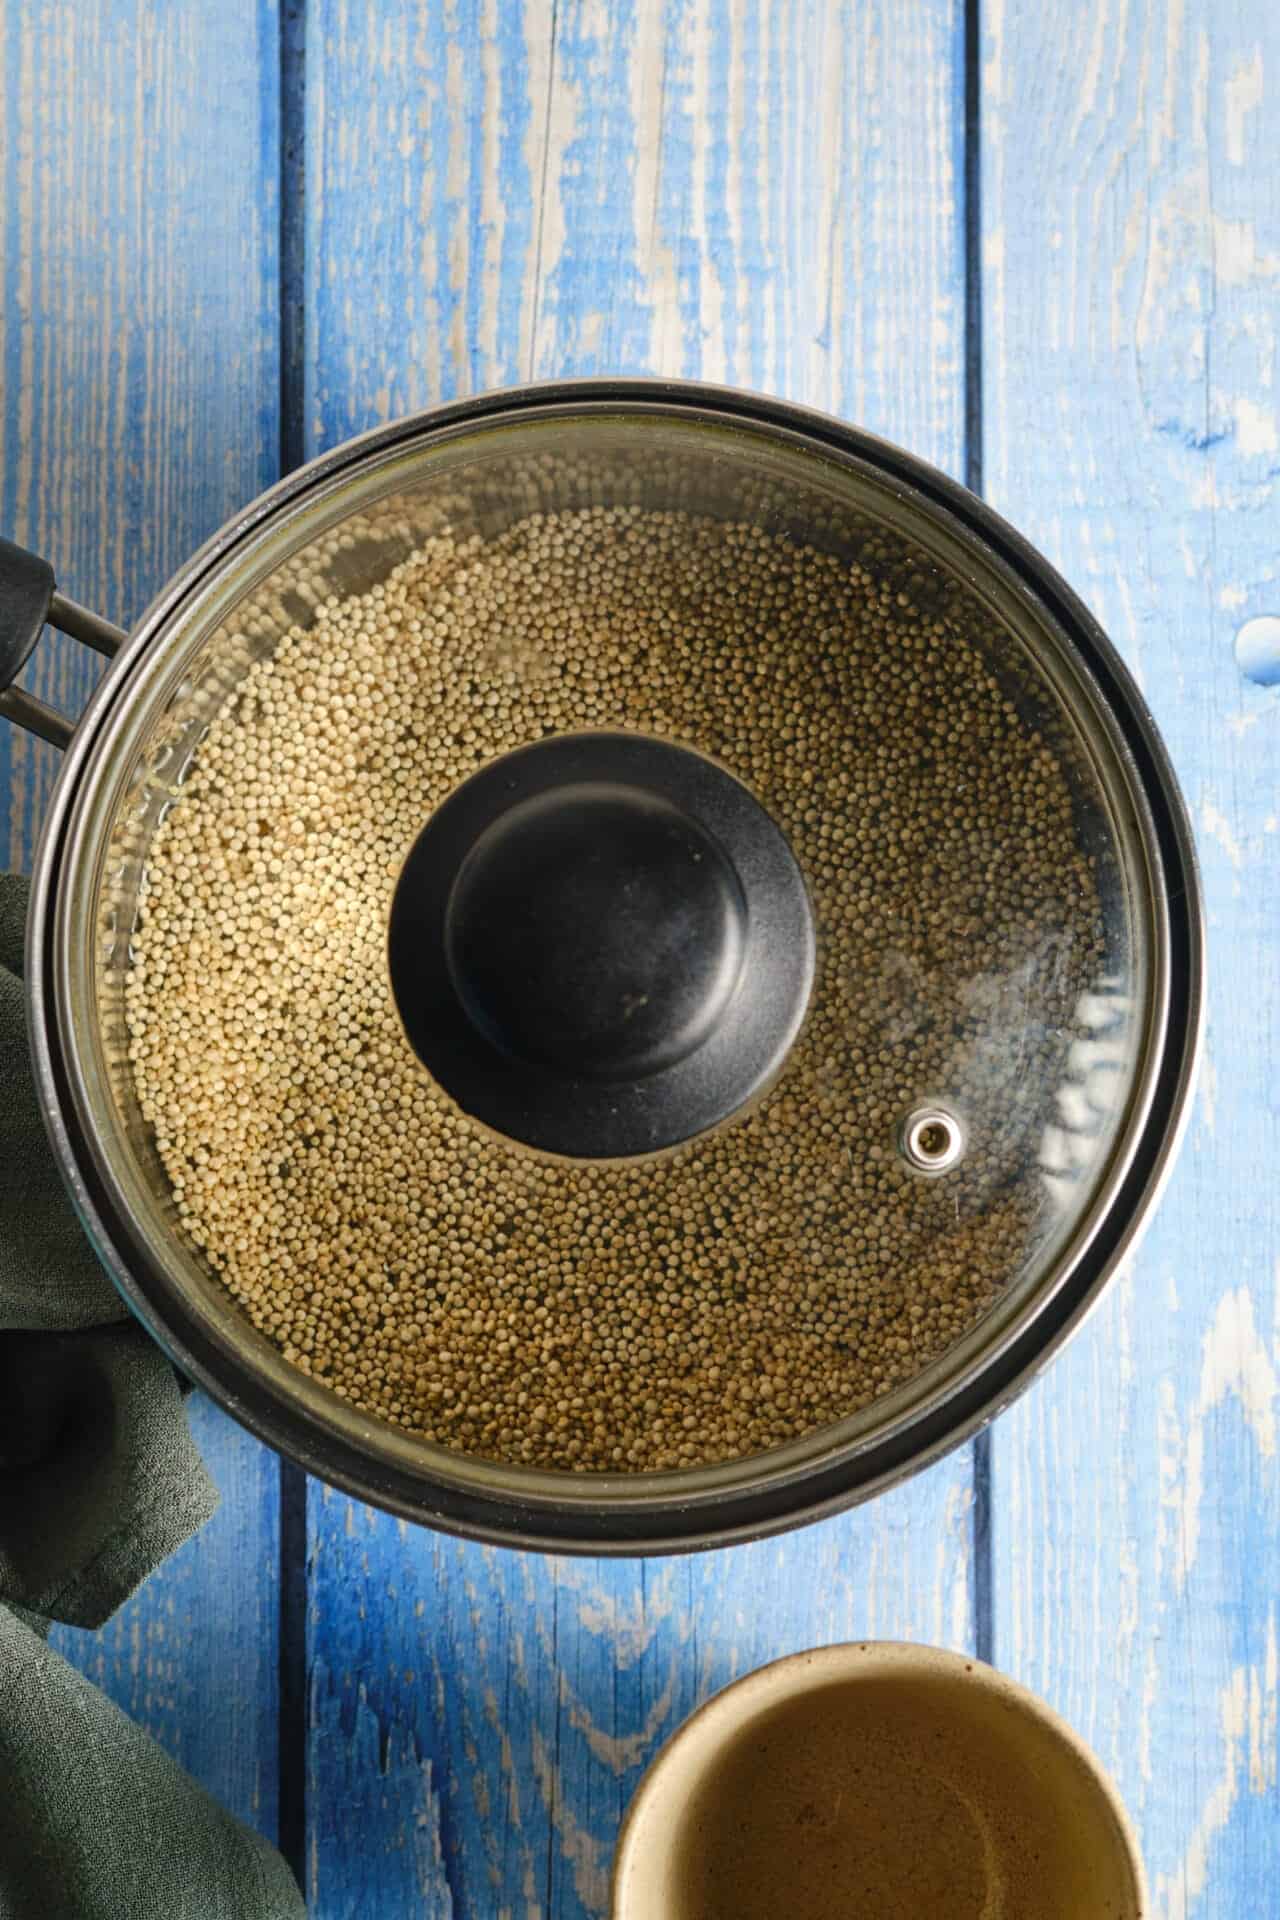
Step 2: Bring the mixture to a boil, then cover the pot, reduce the heat to low, and let it simmer for 15 minutes.
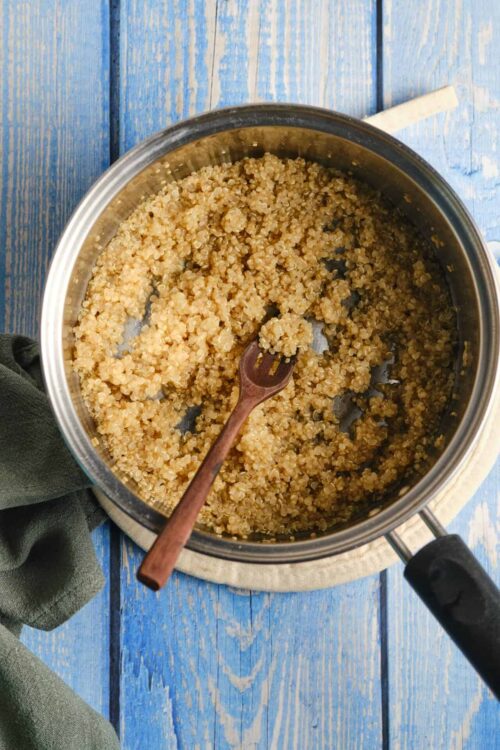
Step 3: Turn off the heat and let the quinoa sit, still covered, for an additional 10 minutes.

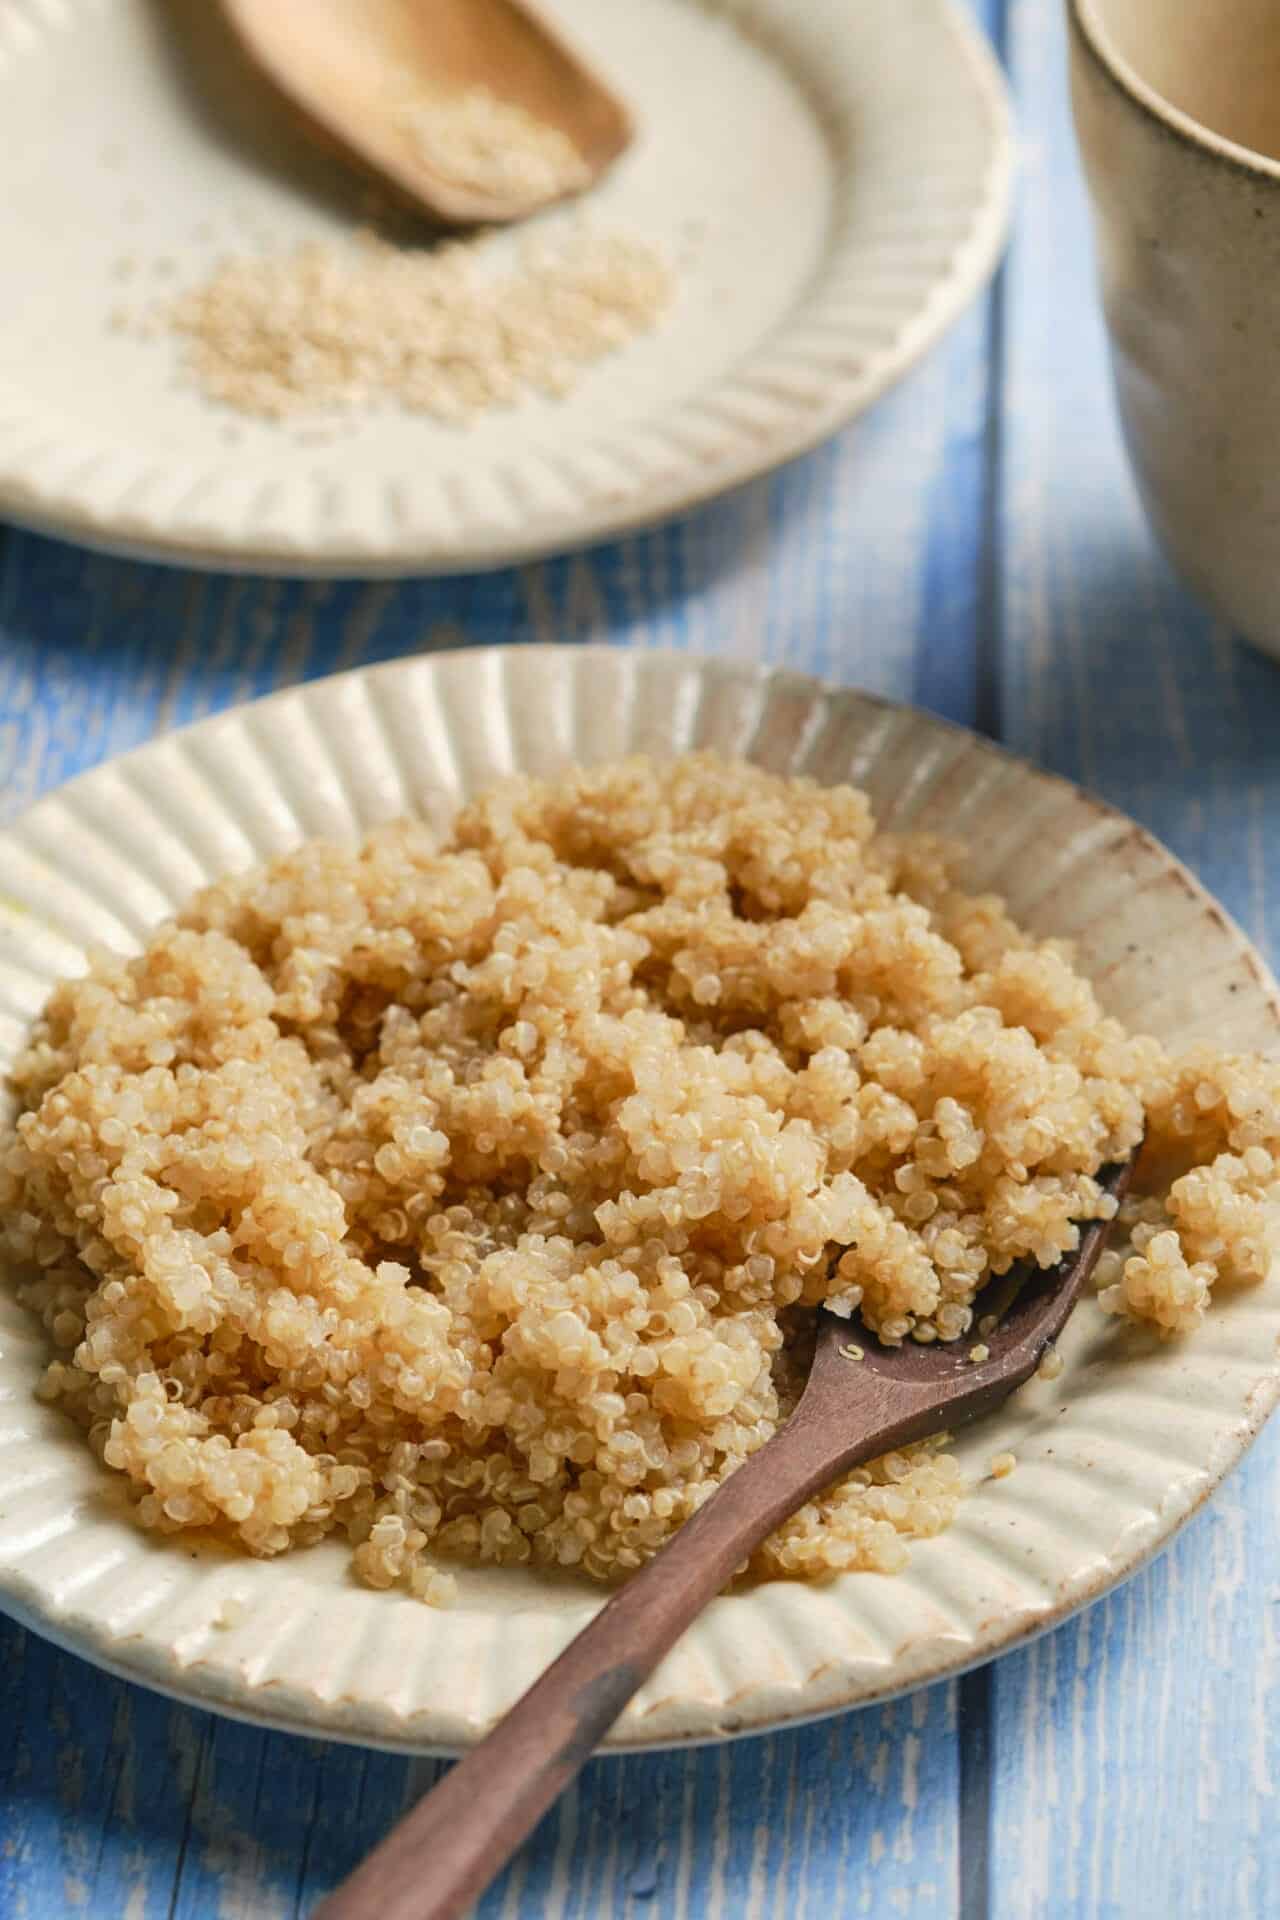
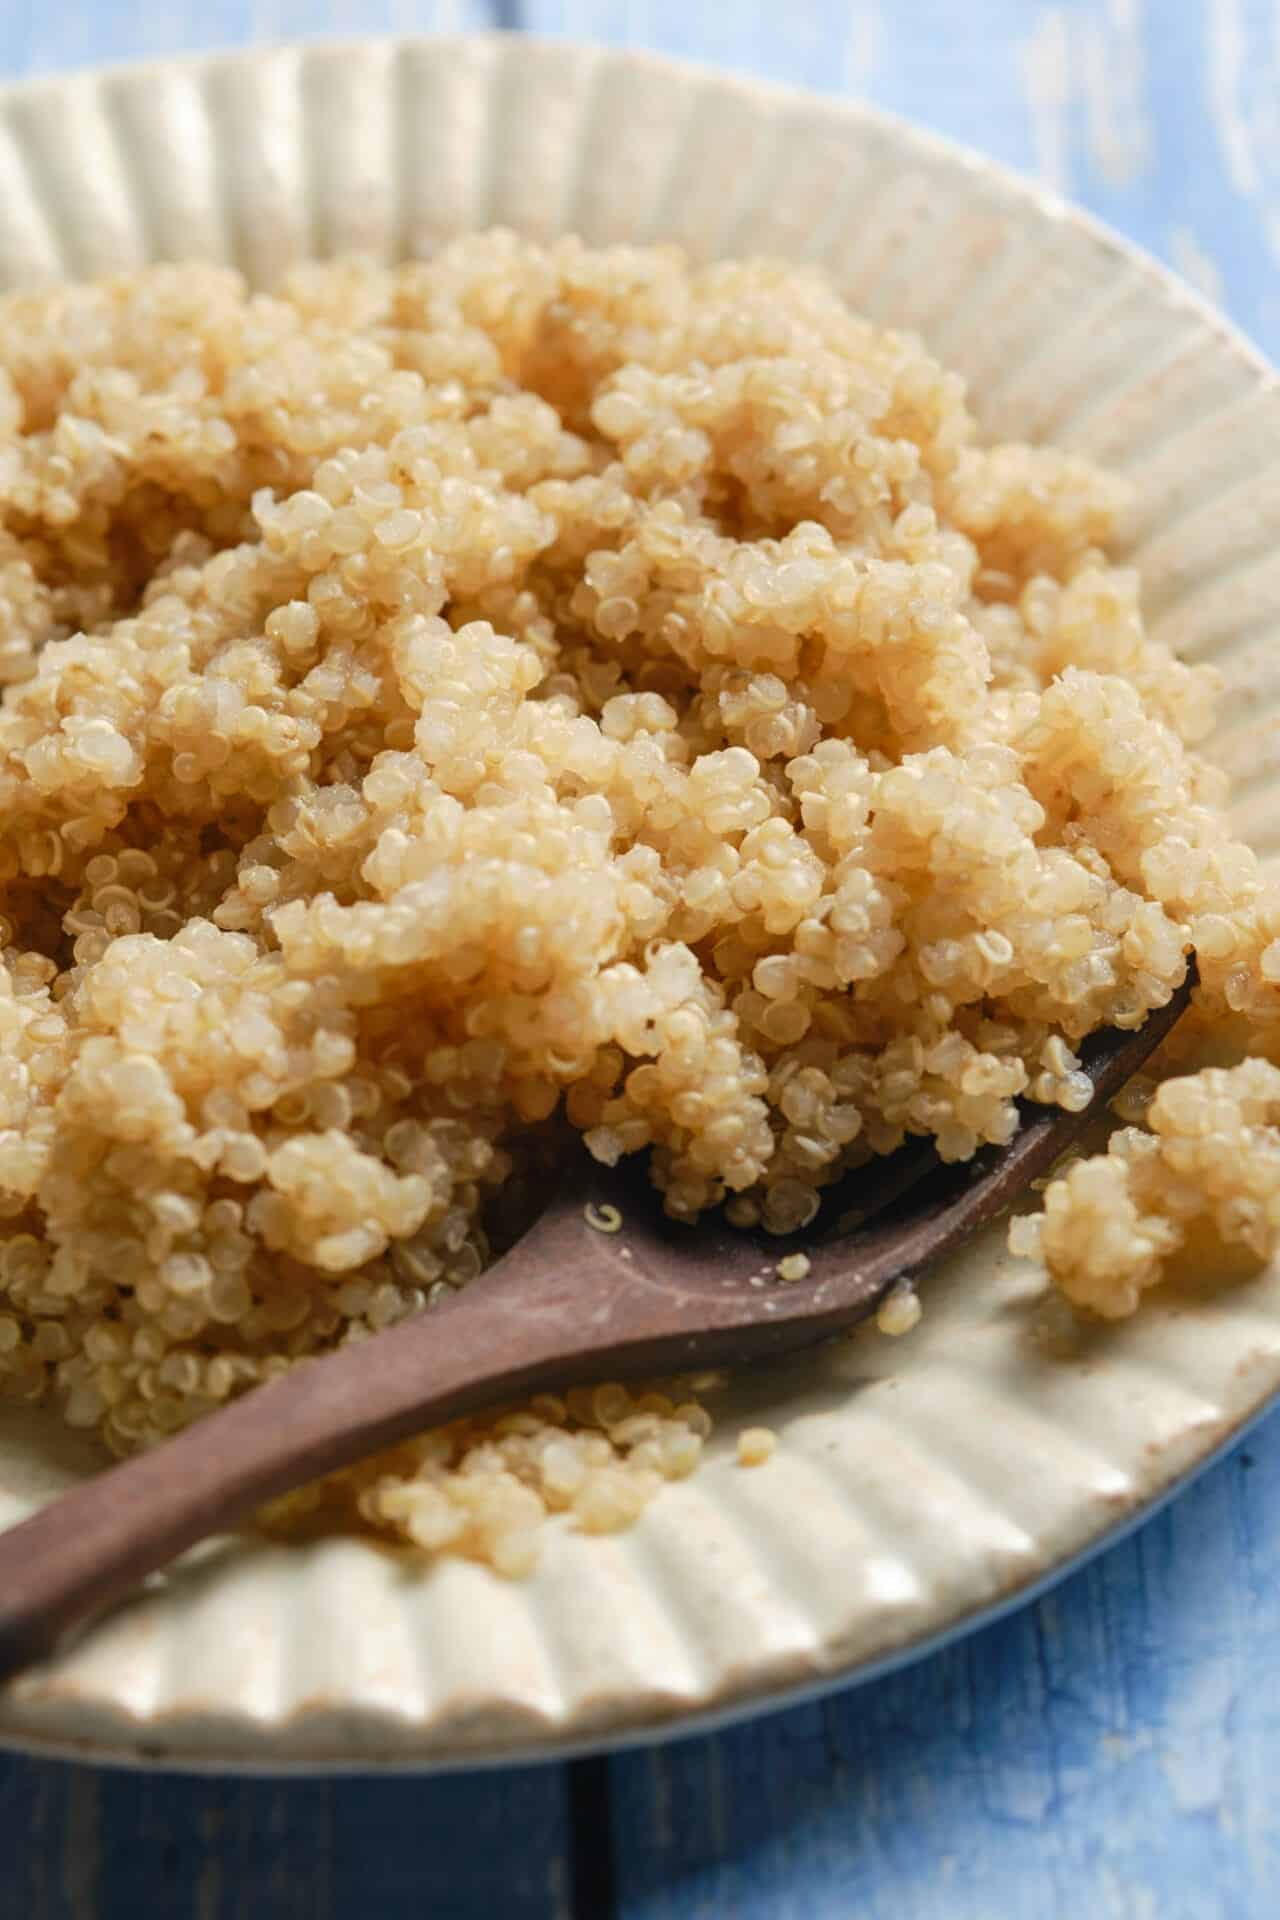
Step 4: Finally, fluff the quinoa gently with a fork to separate the grains and serve.

FAQs & Tips
How to make ahead and store?
When stored in an airtight jar, uncooked quinoa will last 3 to 4 years. However, if you’re storing cooked quinoa, it’ll last in the fridge for about one week. You can also freeze it in a freezer-safe bag or container for up to 6 months.
I feel like my quinoa needs a bit more water.
You might be right! In some cases, you may need to use 2 cups of water to reach the desired fluffiness of your quinoa. However, I recommend following my recipe first because the quinoa will get mushy if you add too much water.
Is quinoa better for you than rice?
It depends on the rice. Brown rice contains plenty of fiber and nutrients, but white rice doesn’t have much to offer. Either way, quinoa is a great choice. It’s loaded with fiber, amino acids, and minerals. It’s lower in carbs, too!
Is quinoa good for diabetics?
Yes! Quinoa is considered a good grain for diabetics because it’s low in sugar and carbs.
Should I stir my quinoa while it cooks?
It’s not a bad idea to give the quinoa a good stir once in a while to avoid burning or overcooking the quinoa.
Serving Suggestions
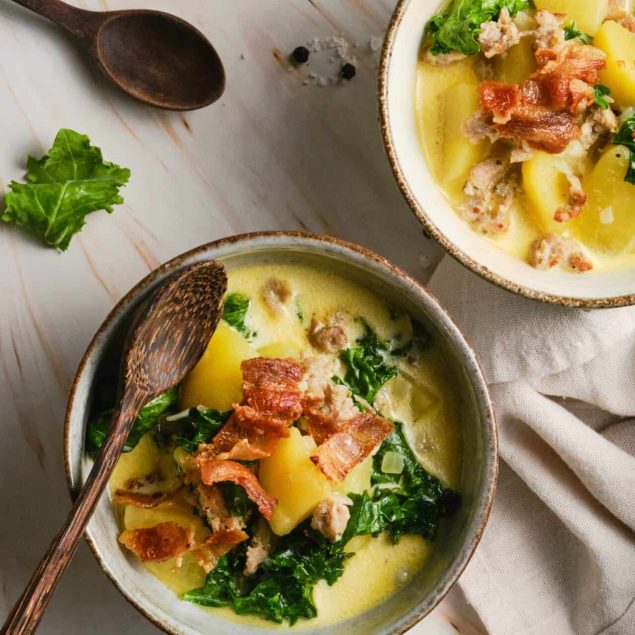
Quinoa goes great with so many dishes in my kitchen. When I’m craving mashed potatoes with my steak dinners, I’ll whip up some quinoa instead for a healthier and more nutritious carb. In fact, quinoa is great guilt-free side for proteins like salisbury steak or smothered pork chops. It’s also a healthy add-in ingredient to Mexican dishes, like my Mexican street corn salad.
How to Cook Quinoa
Ingredients
- 1 cup quinoa rinsed
- 1 3/4 cups water
Instructions
- Start by combining the rinsed quinoa and water in a medium pot.

- Bring the mixture to a boil, then cover the pot, reduce the heat to low, and let it simmer for 15 minutes.
- Turn off the heat and let the quinoa sit, still covered, for an additional 10 minutes.
- Finally, fluff the quinoa gently with a fork to separate the grains and serve.
Leave a Comment